Creating effective, on-brand, engaging marketing materials for your clients and prospects is now as easy as 1-2-3! We created a quick video guide below, or you can continue reading for a step-by-step guide on how to get started:
- Log into your SharpLaunch account.
- Navigate to the properties section (left menu):
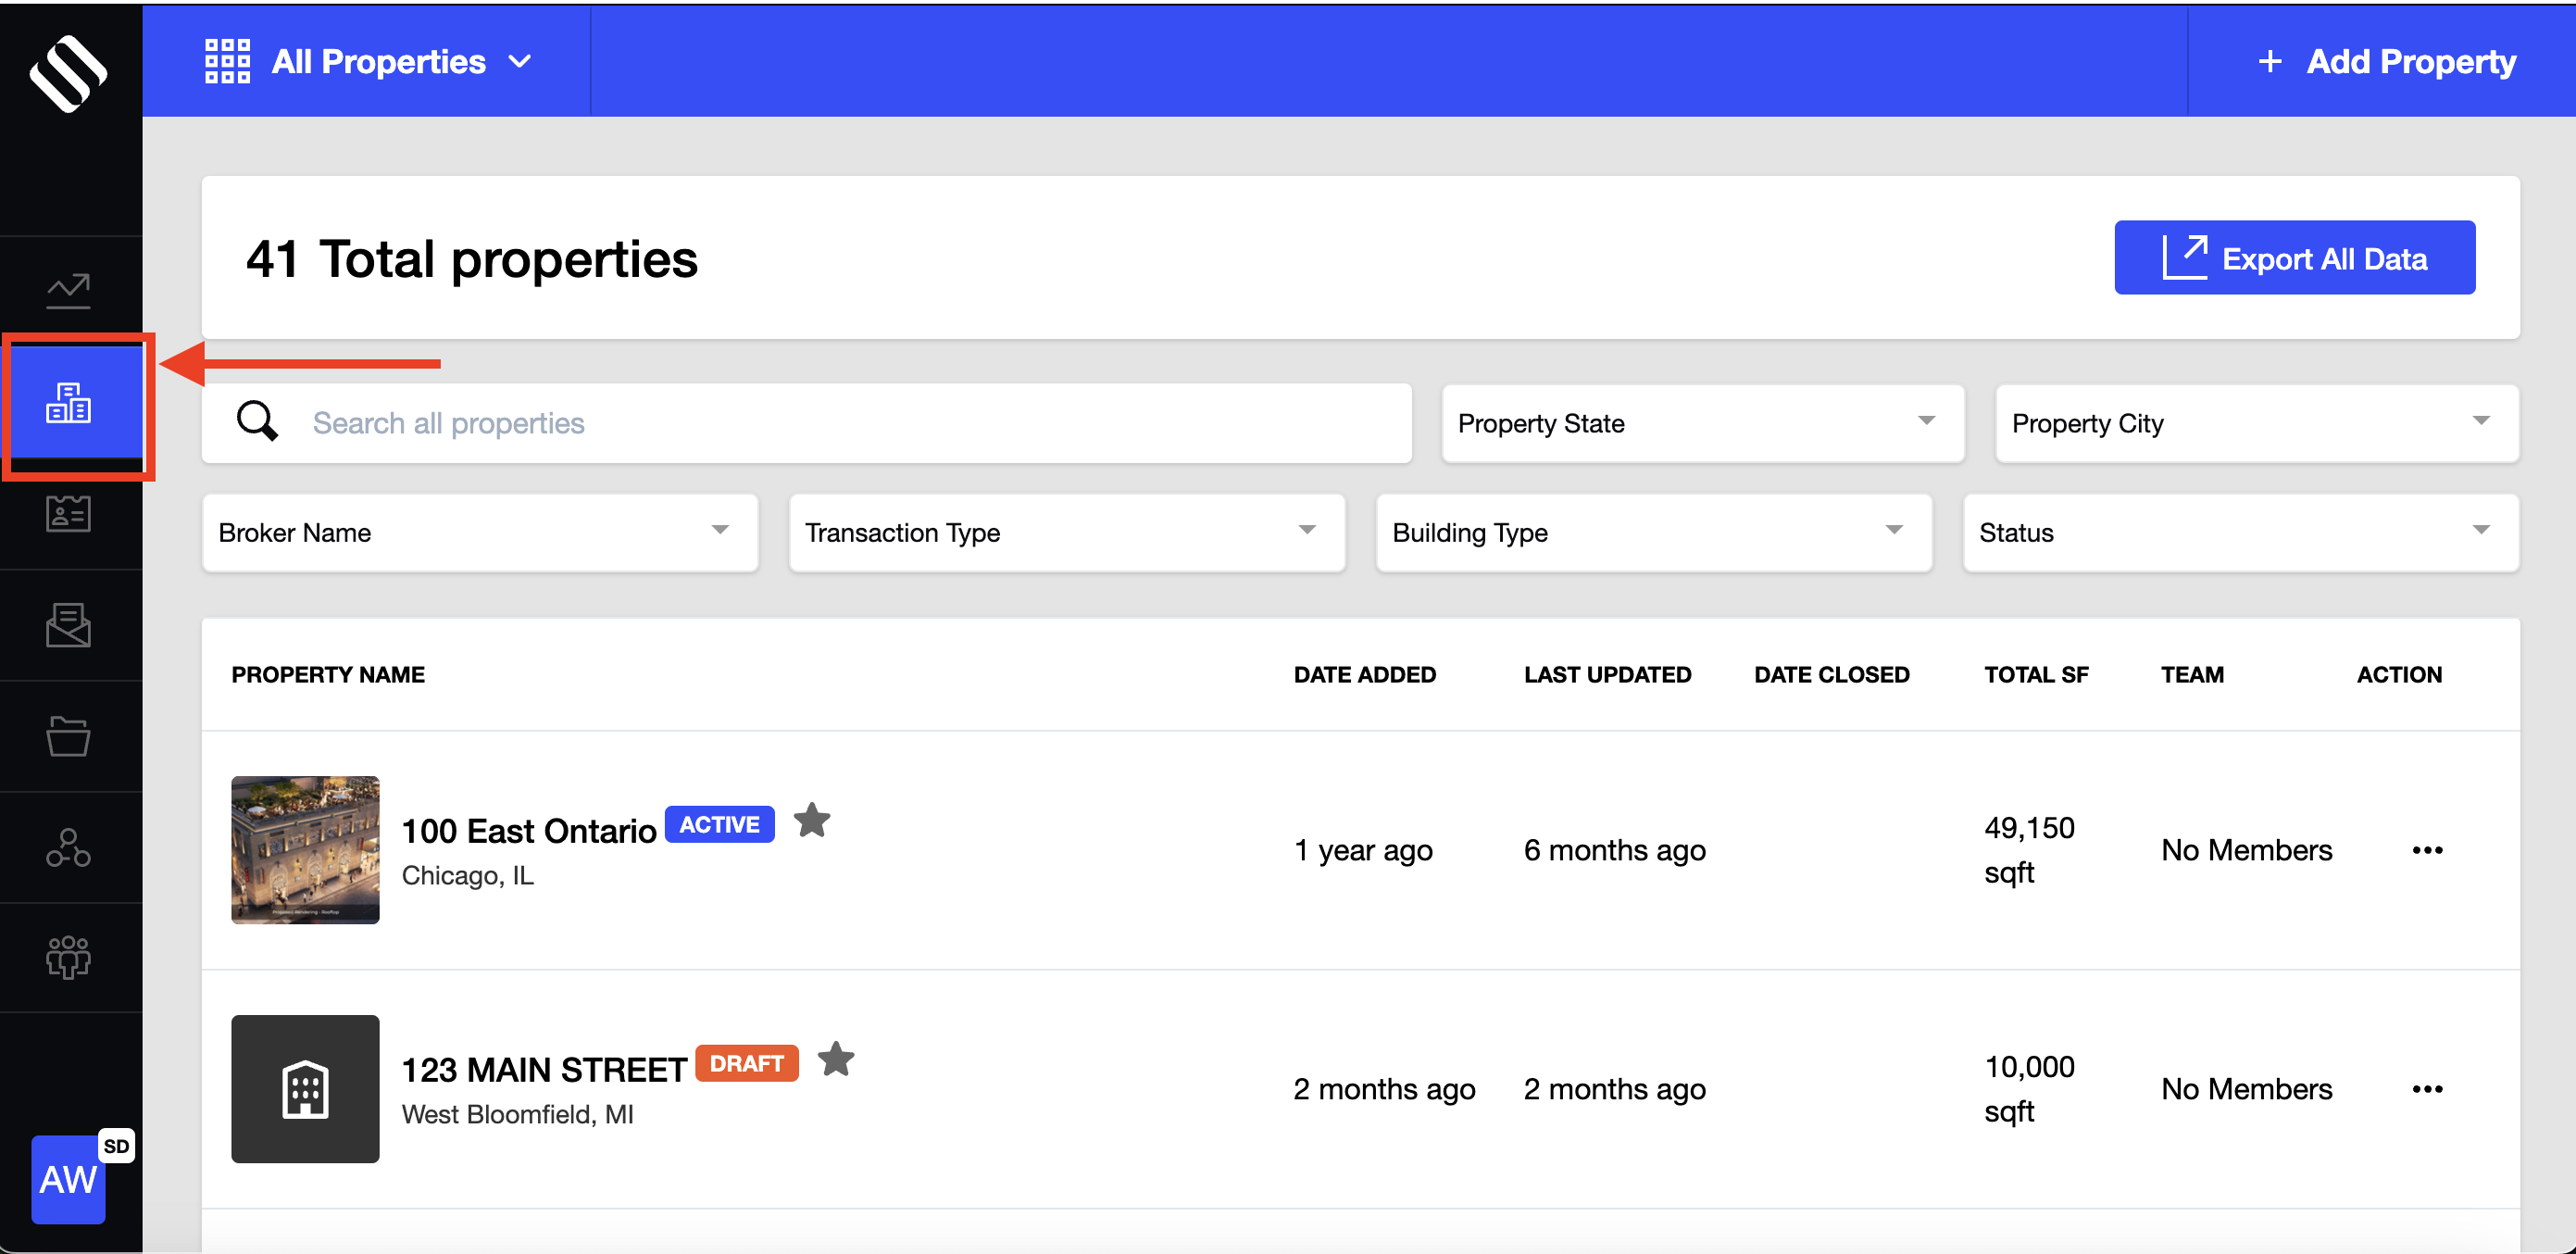
- Find the property for which you wish to create a PDF flyer > Click the property name.
- Click the “Create Flyer” button:
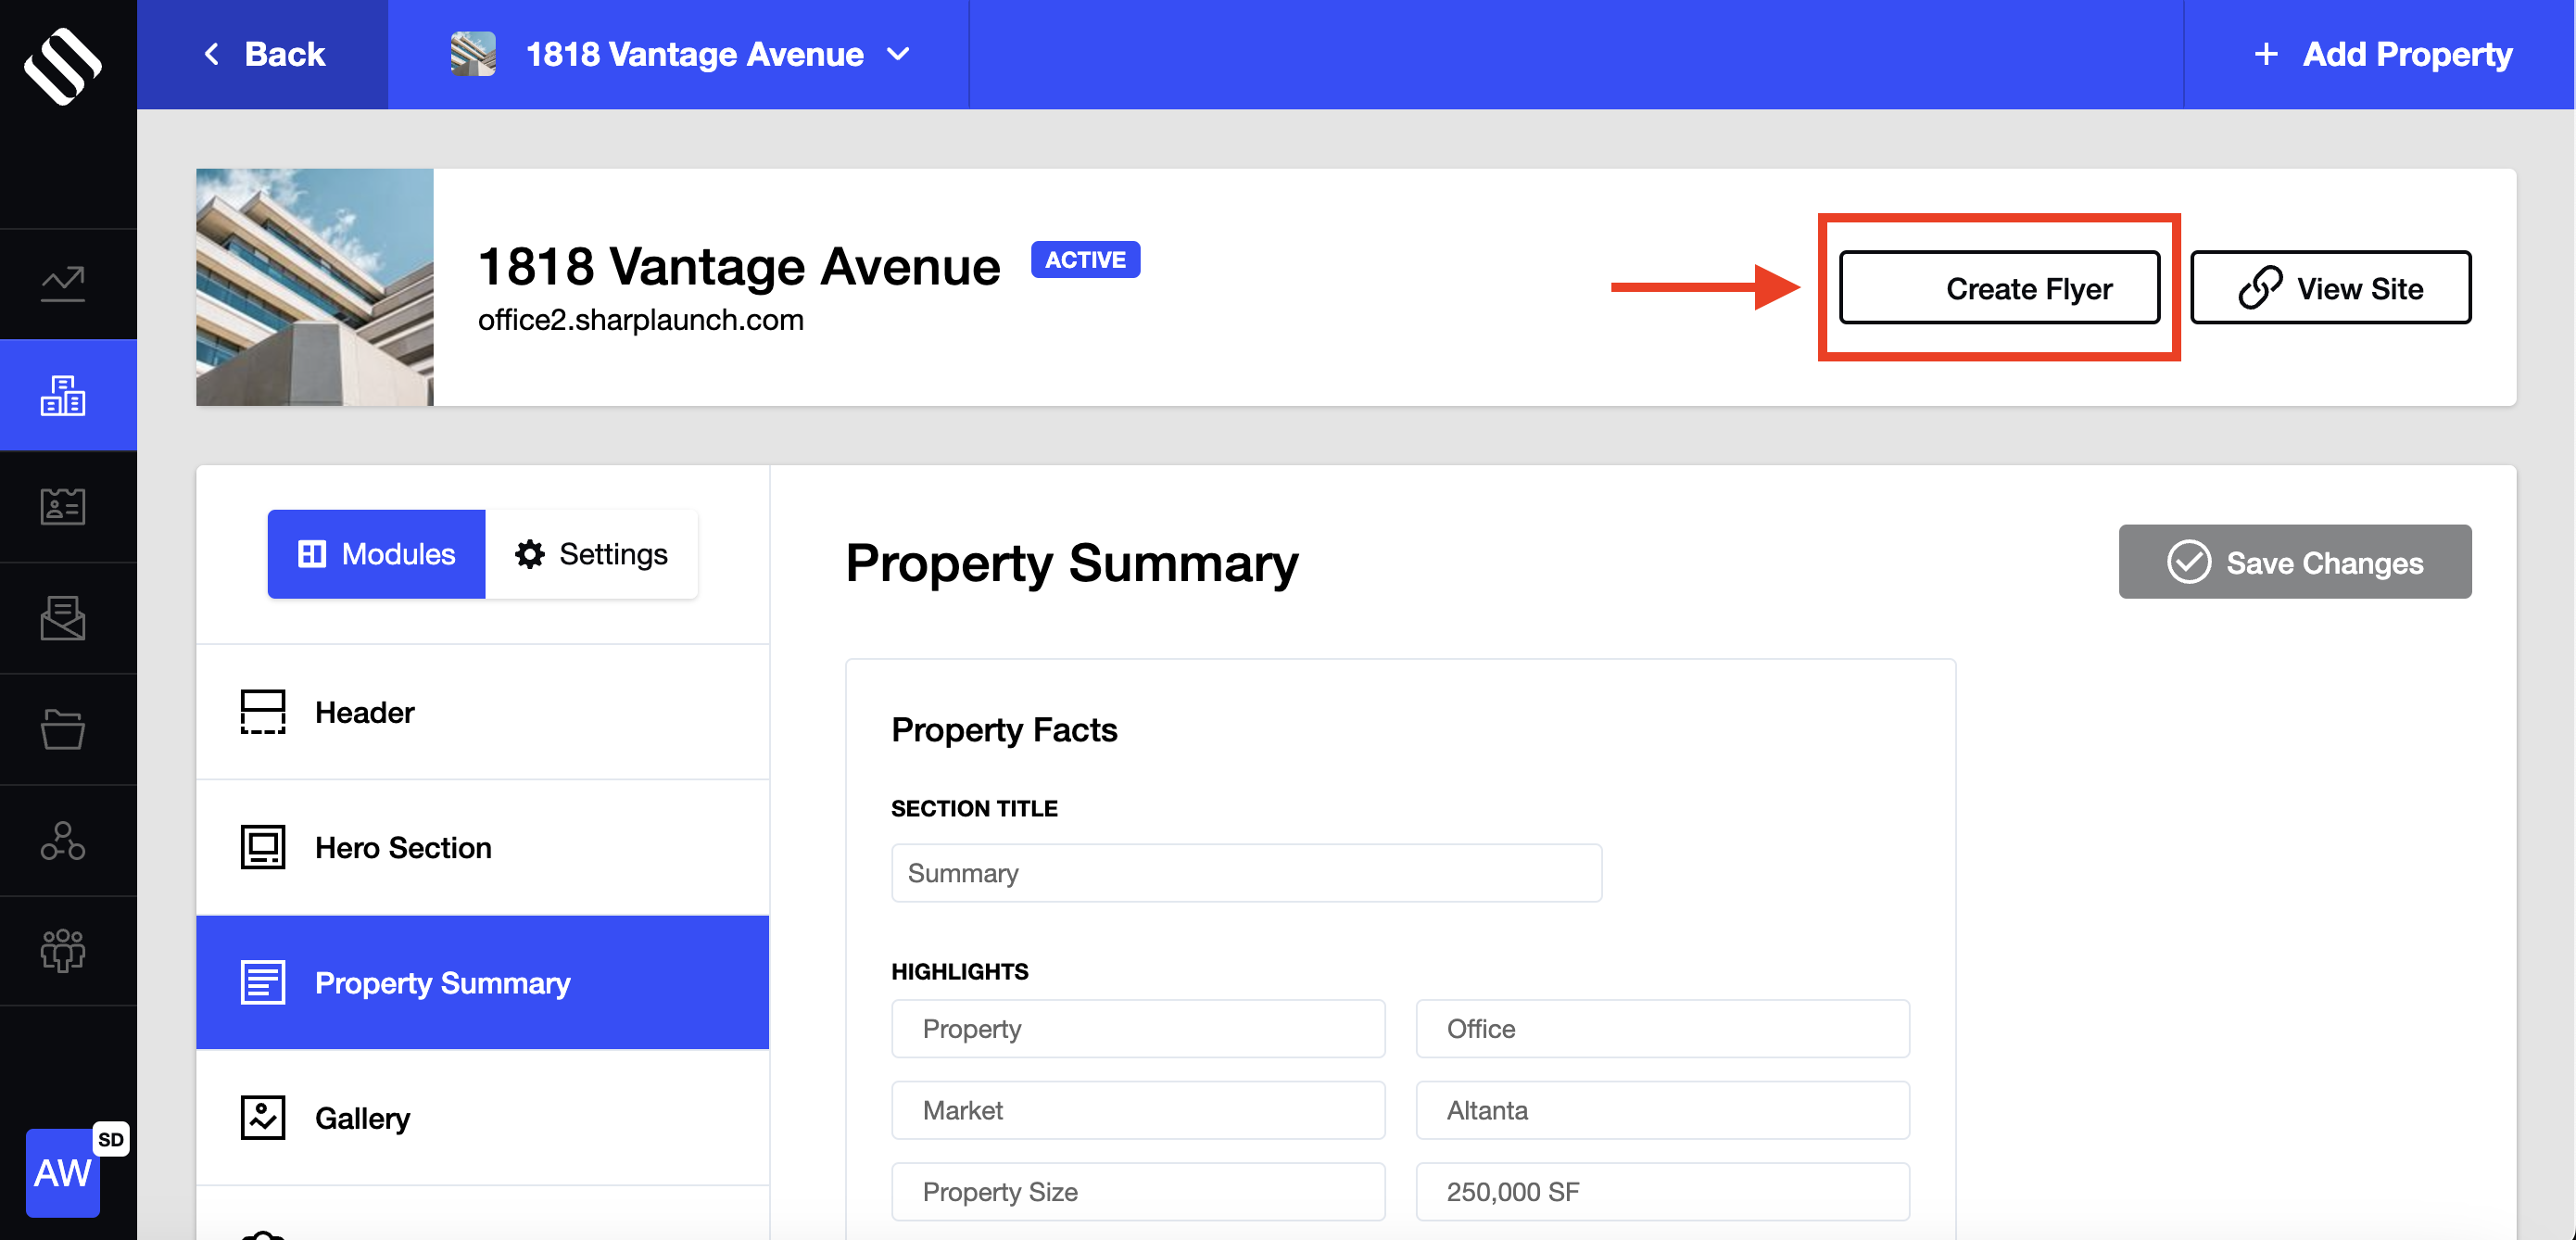
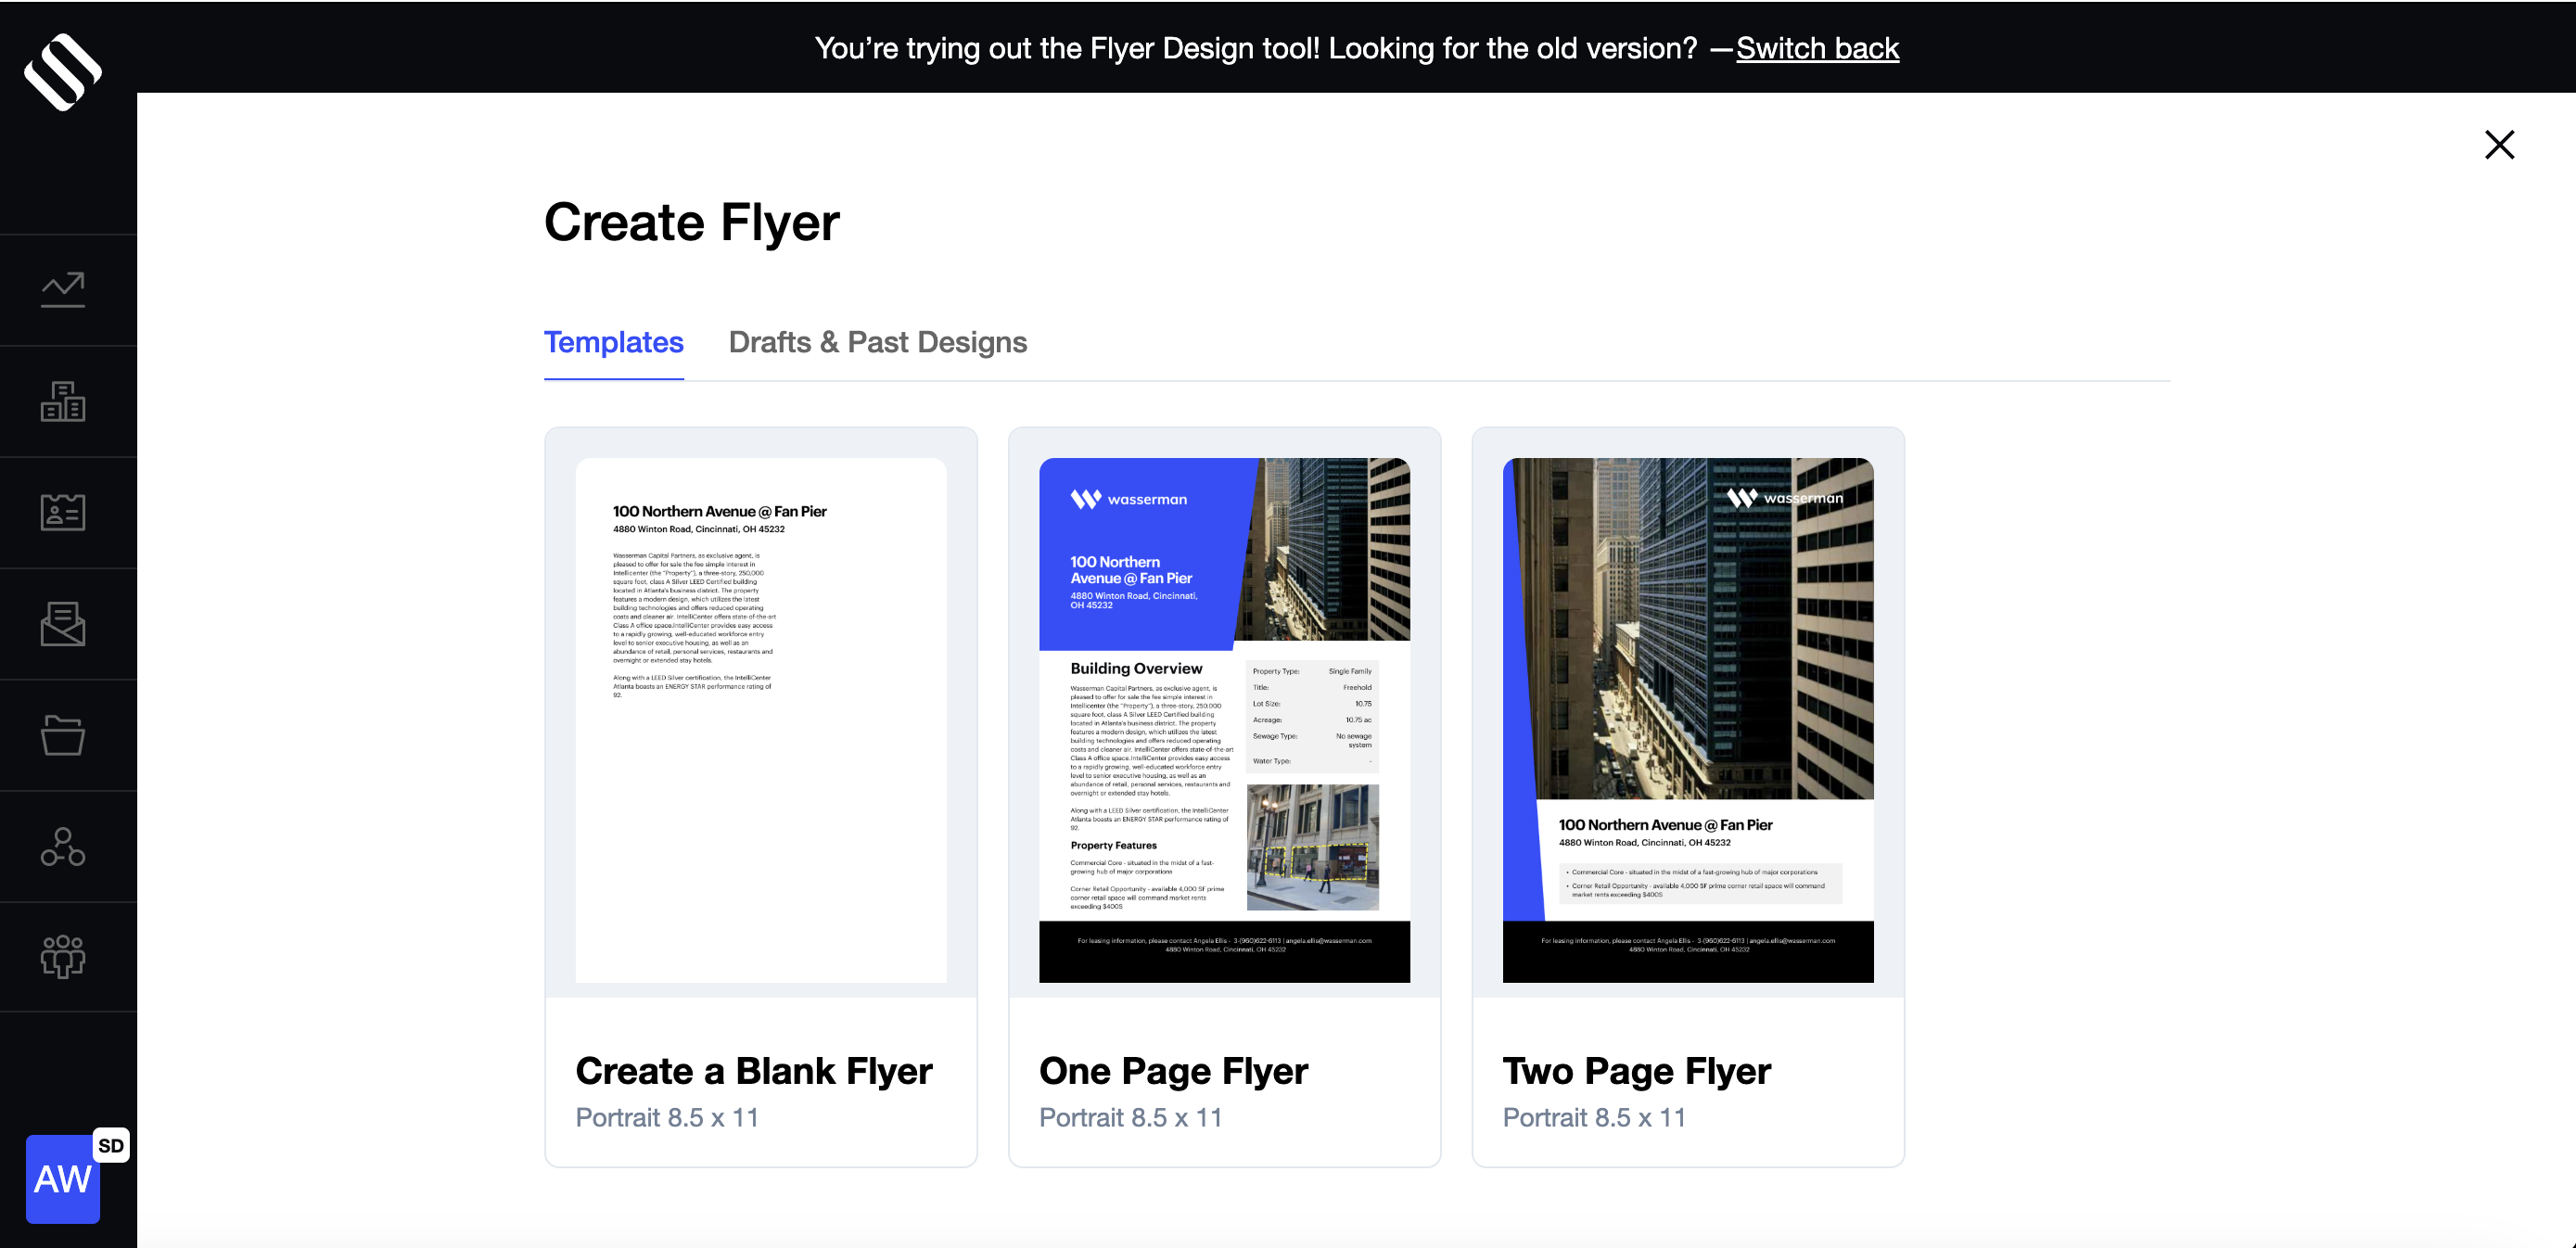
- Choose the template you wish to get started with. You can either start from scratch with no information pre-populated or select a one or two-page template that comes pre-filled with existing property data from the listing you have created in the CMS.
- Once you are in the builder, you can select elements on the page and begin to make changes to your flyer.
- You can make text changes by clicking inside the text boxes and images can be edited by clicking on them. The element you are working on will be highlighted with small white boxes along its border and additional customization options will appear on the right side of the screen.
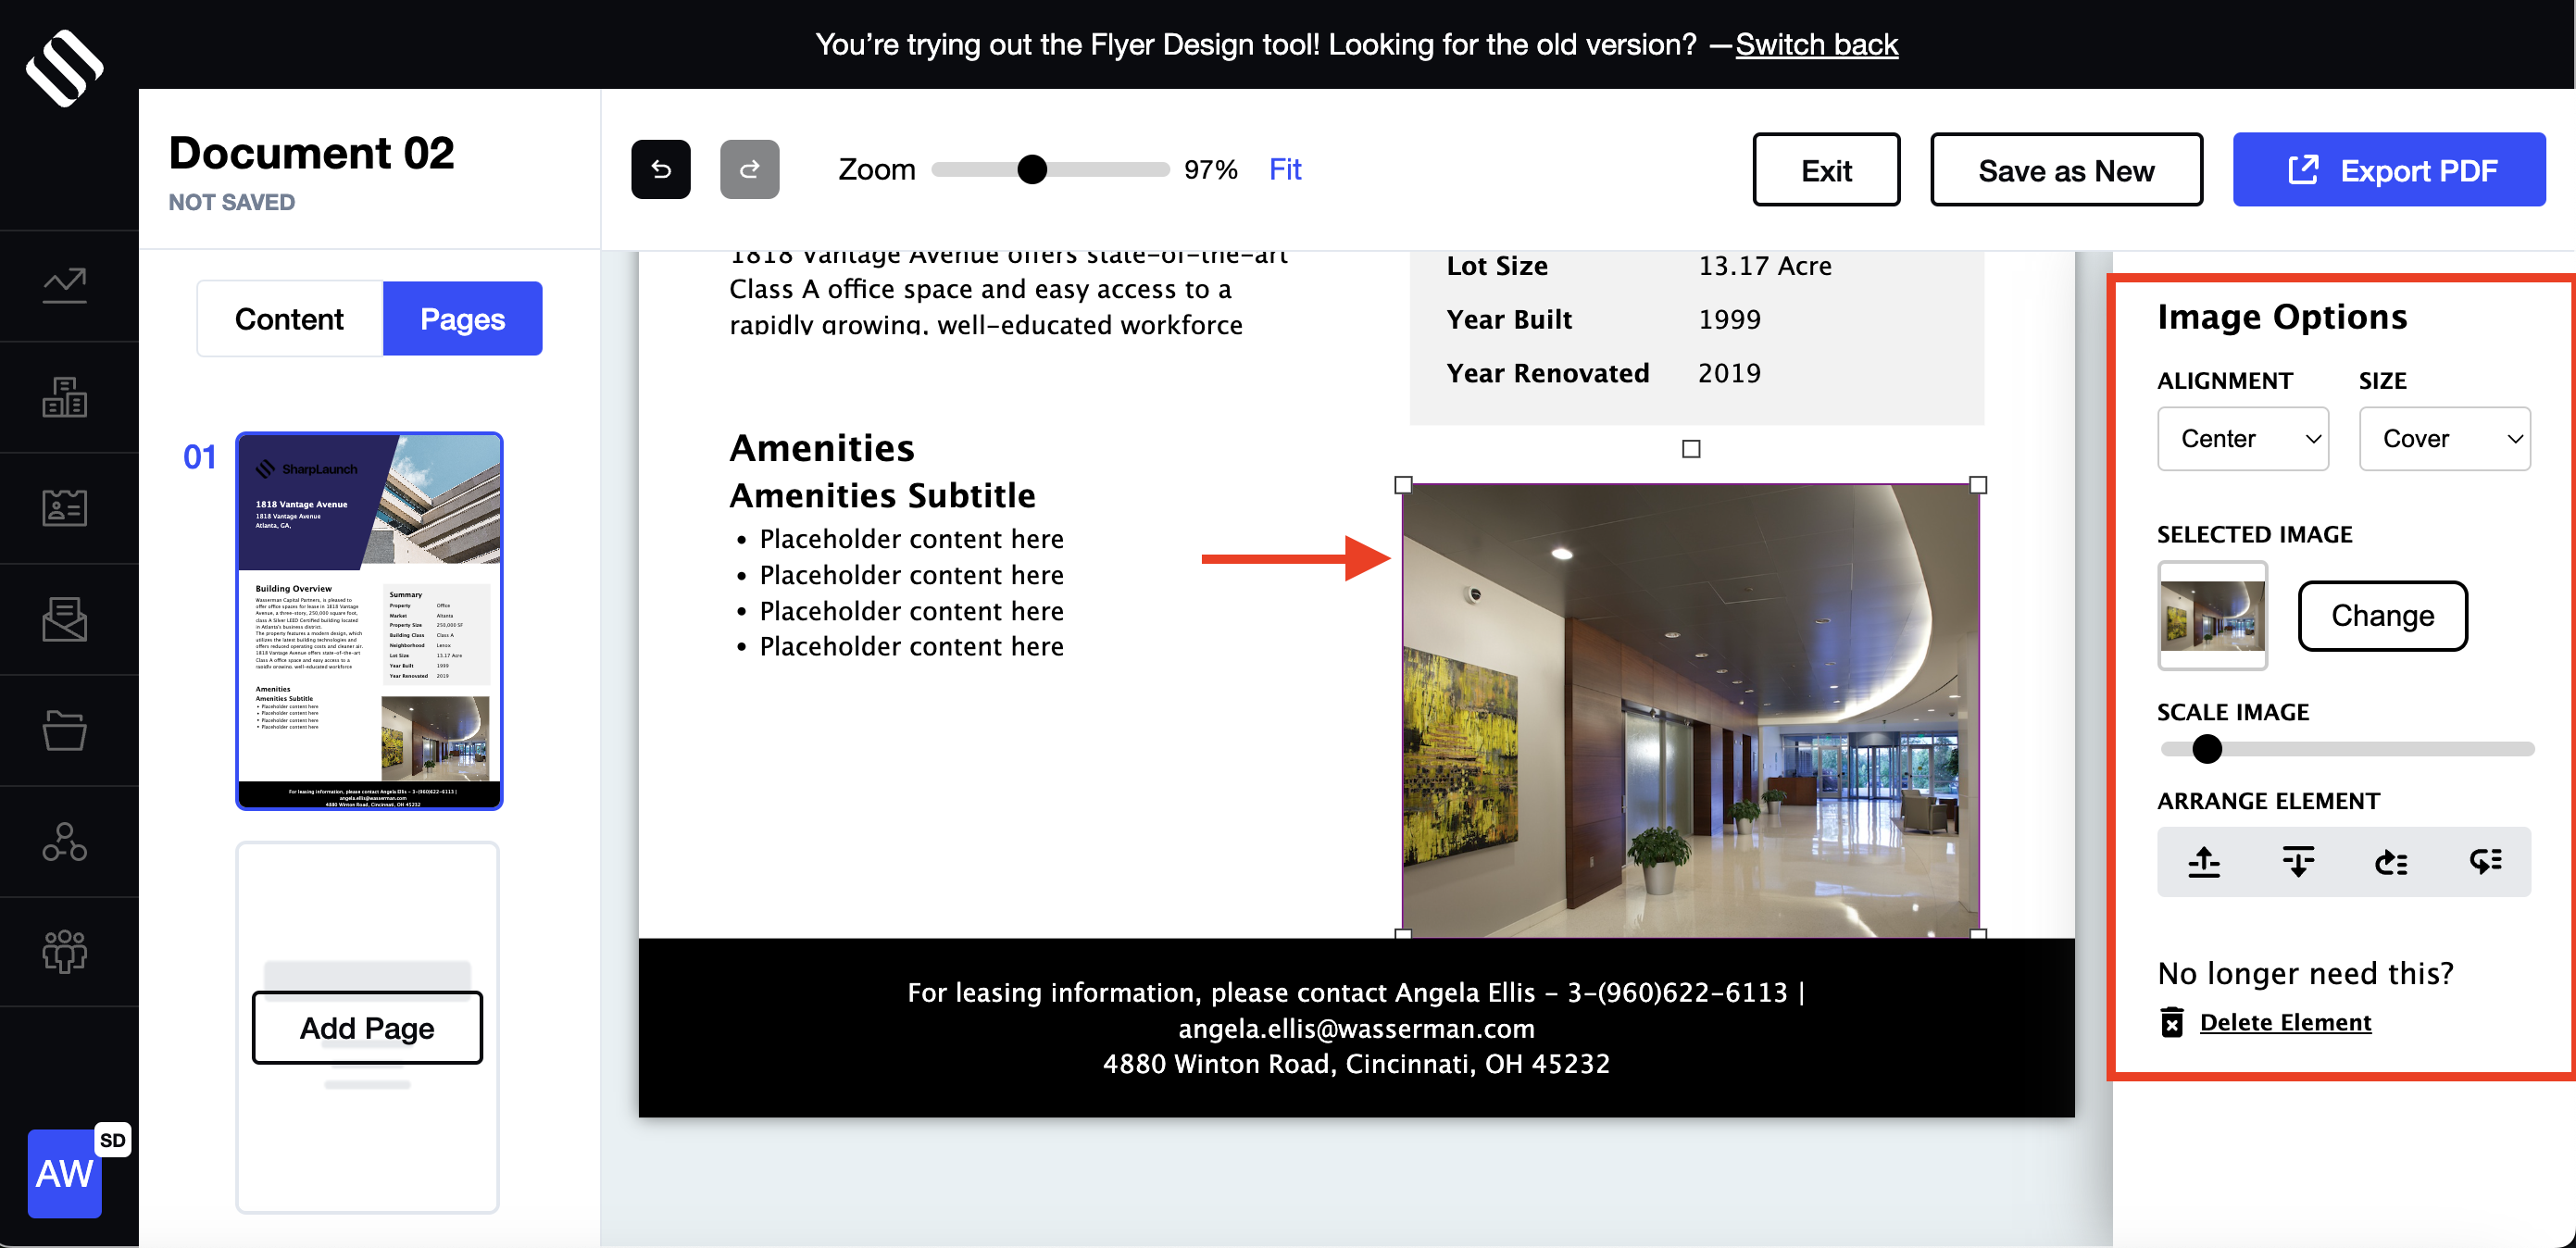
- You can click, hold, and drag elements anywhere on the page as you see fit.
- Clicking on the “Content” button allows you to insert new elements onto the page (e.g. availabilities, shapes, maps, broker info, etc.):
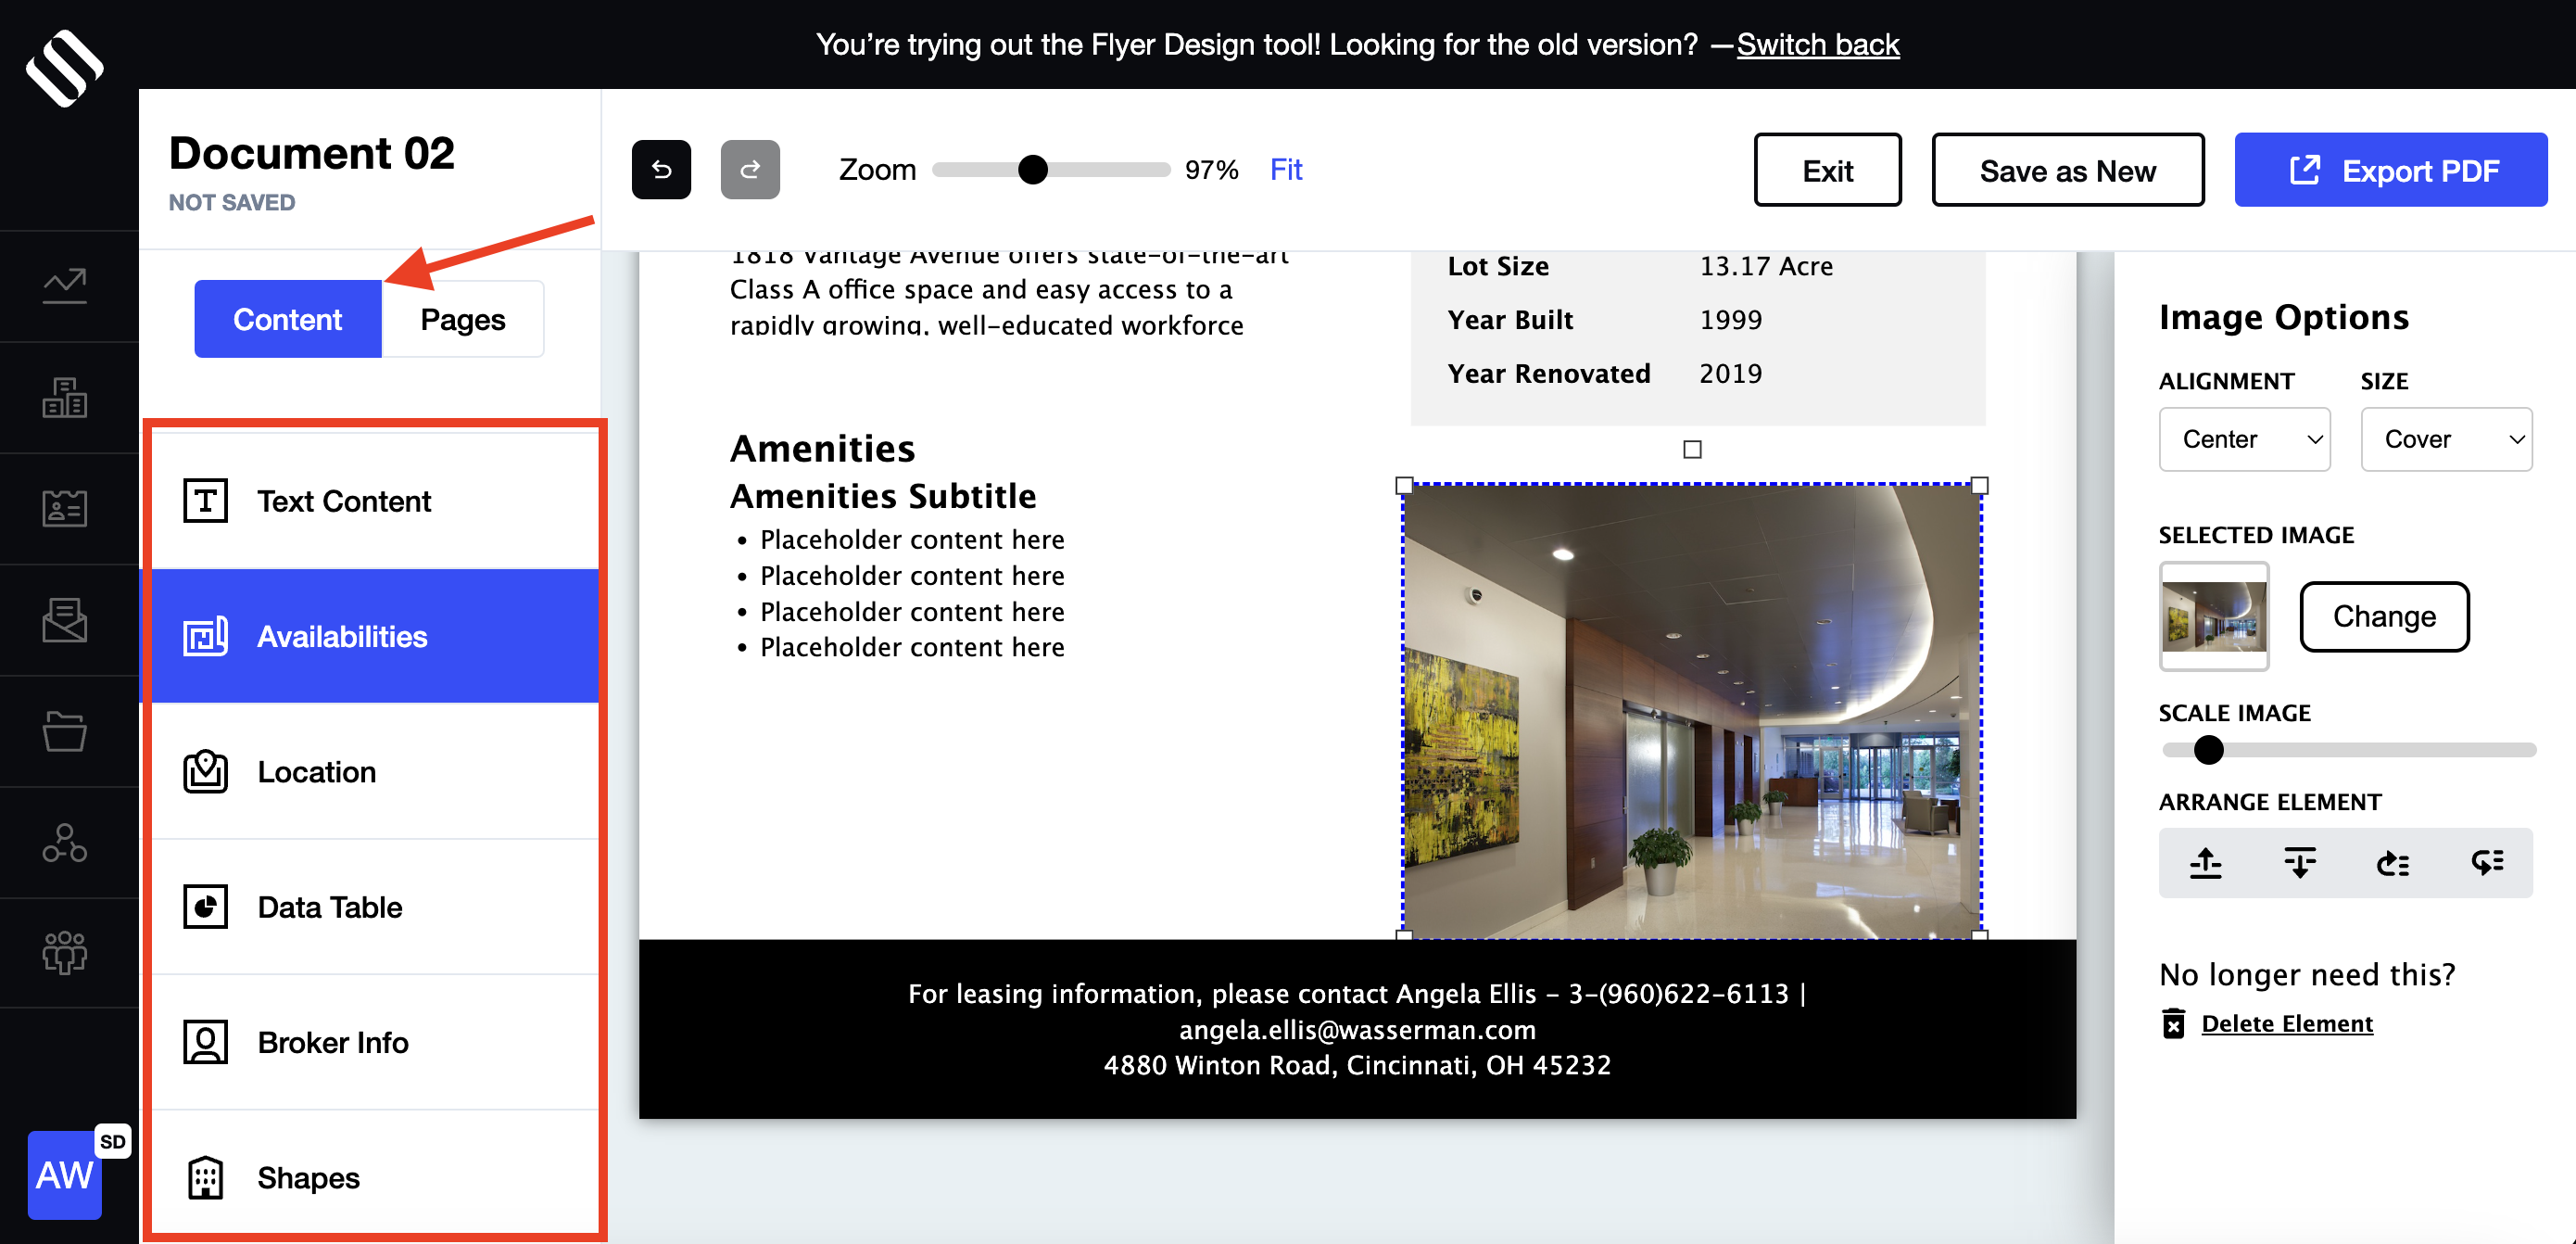
- Keep in mind that you might need to scroll up to see the new content you just added if you are working toward the bottom of the page.
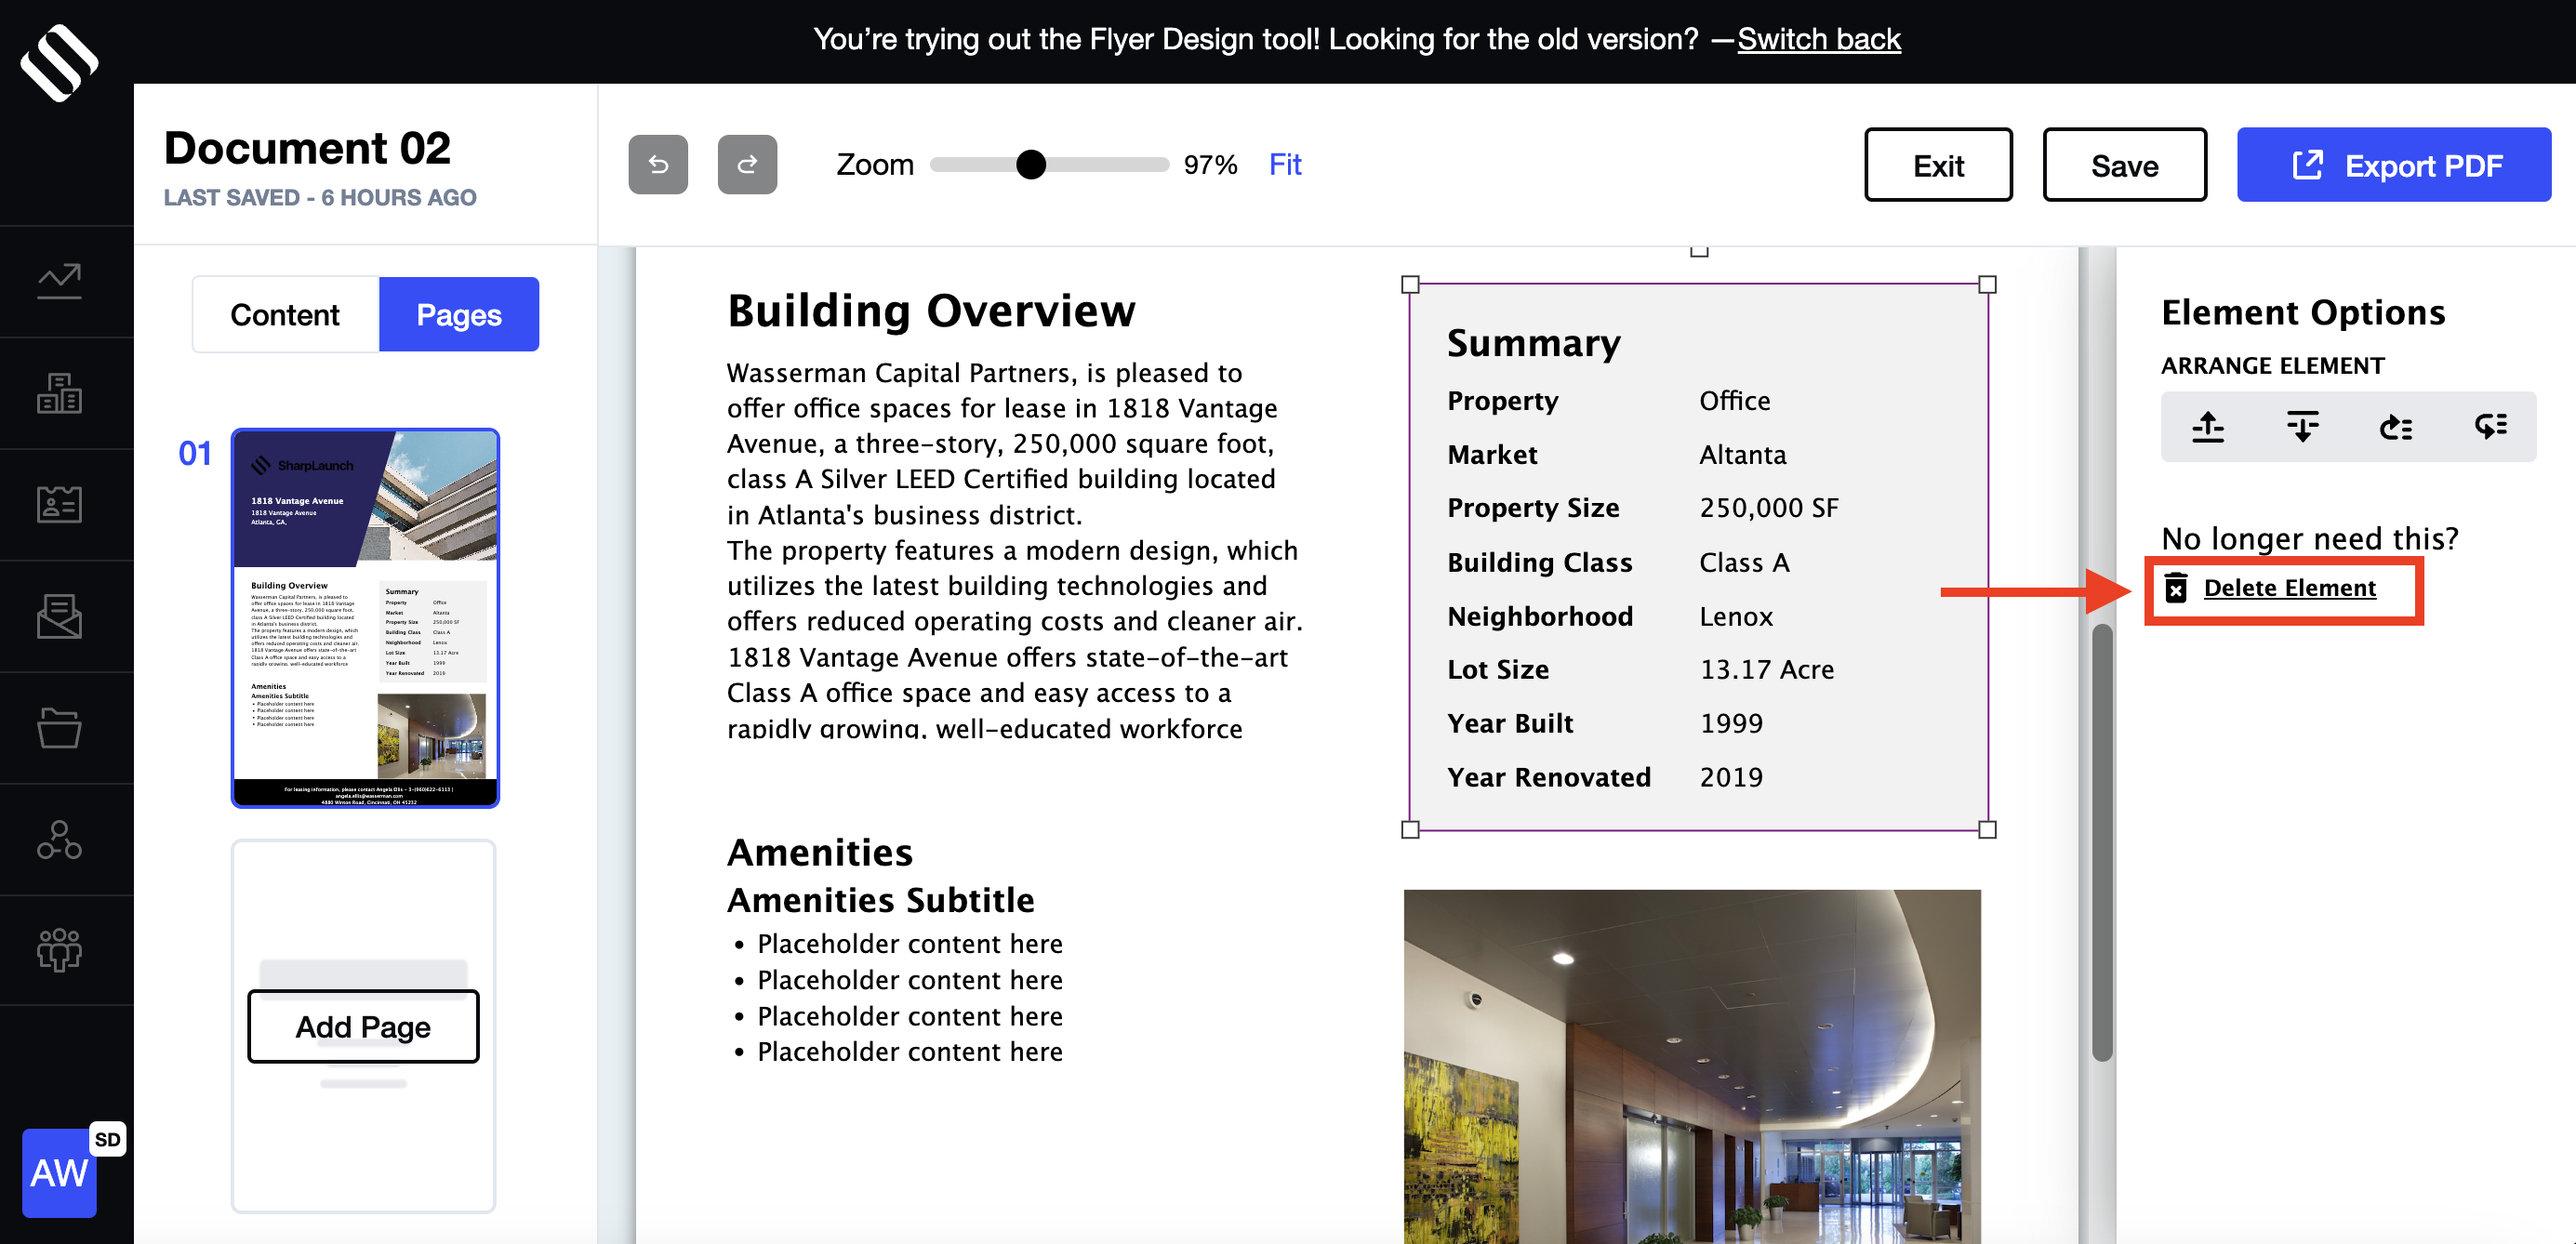
- You can delete elements by clicking on them and then clicking “Delete Element” on the right side of your screen:
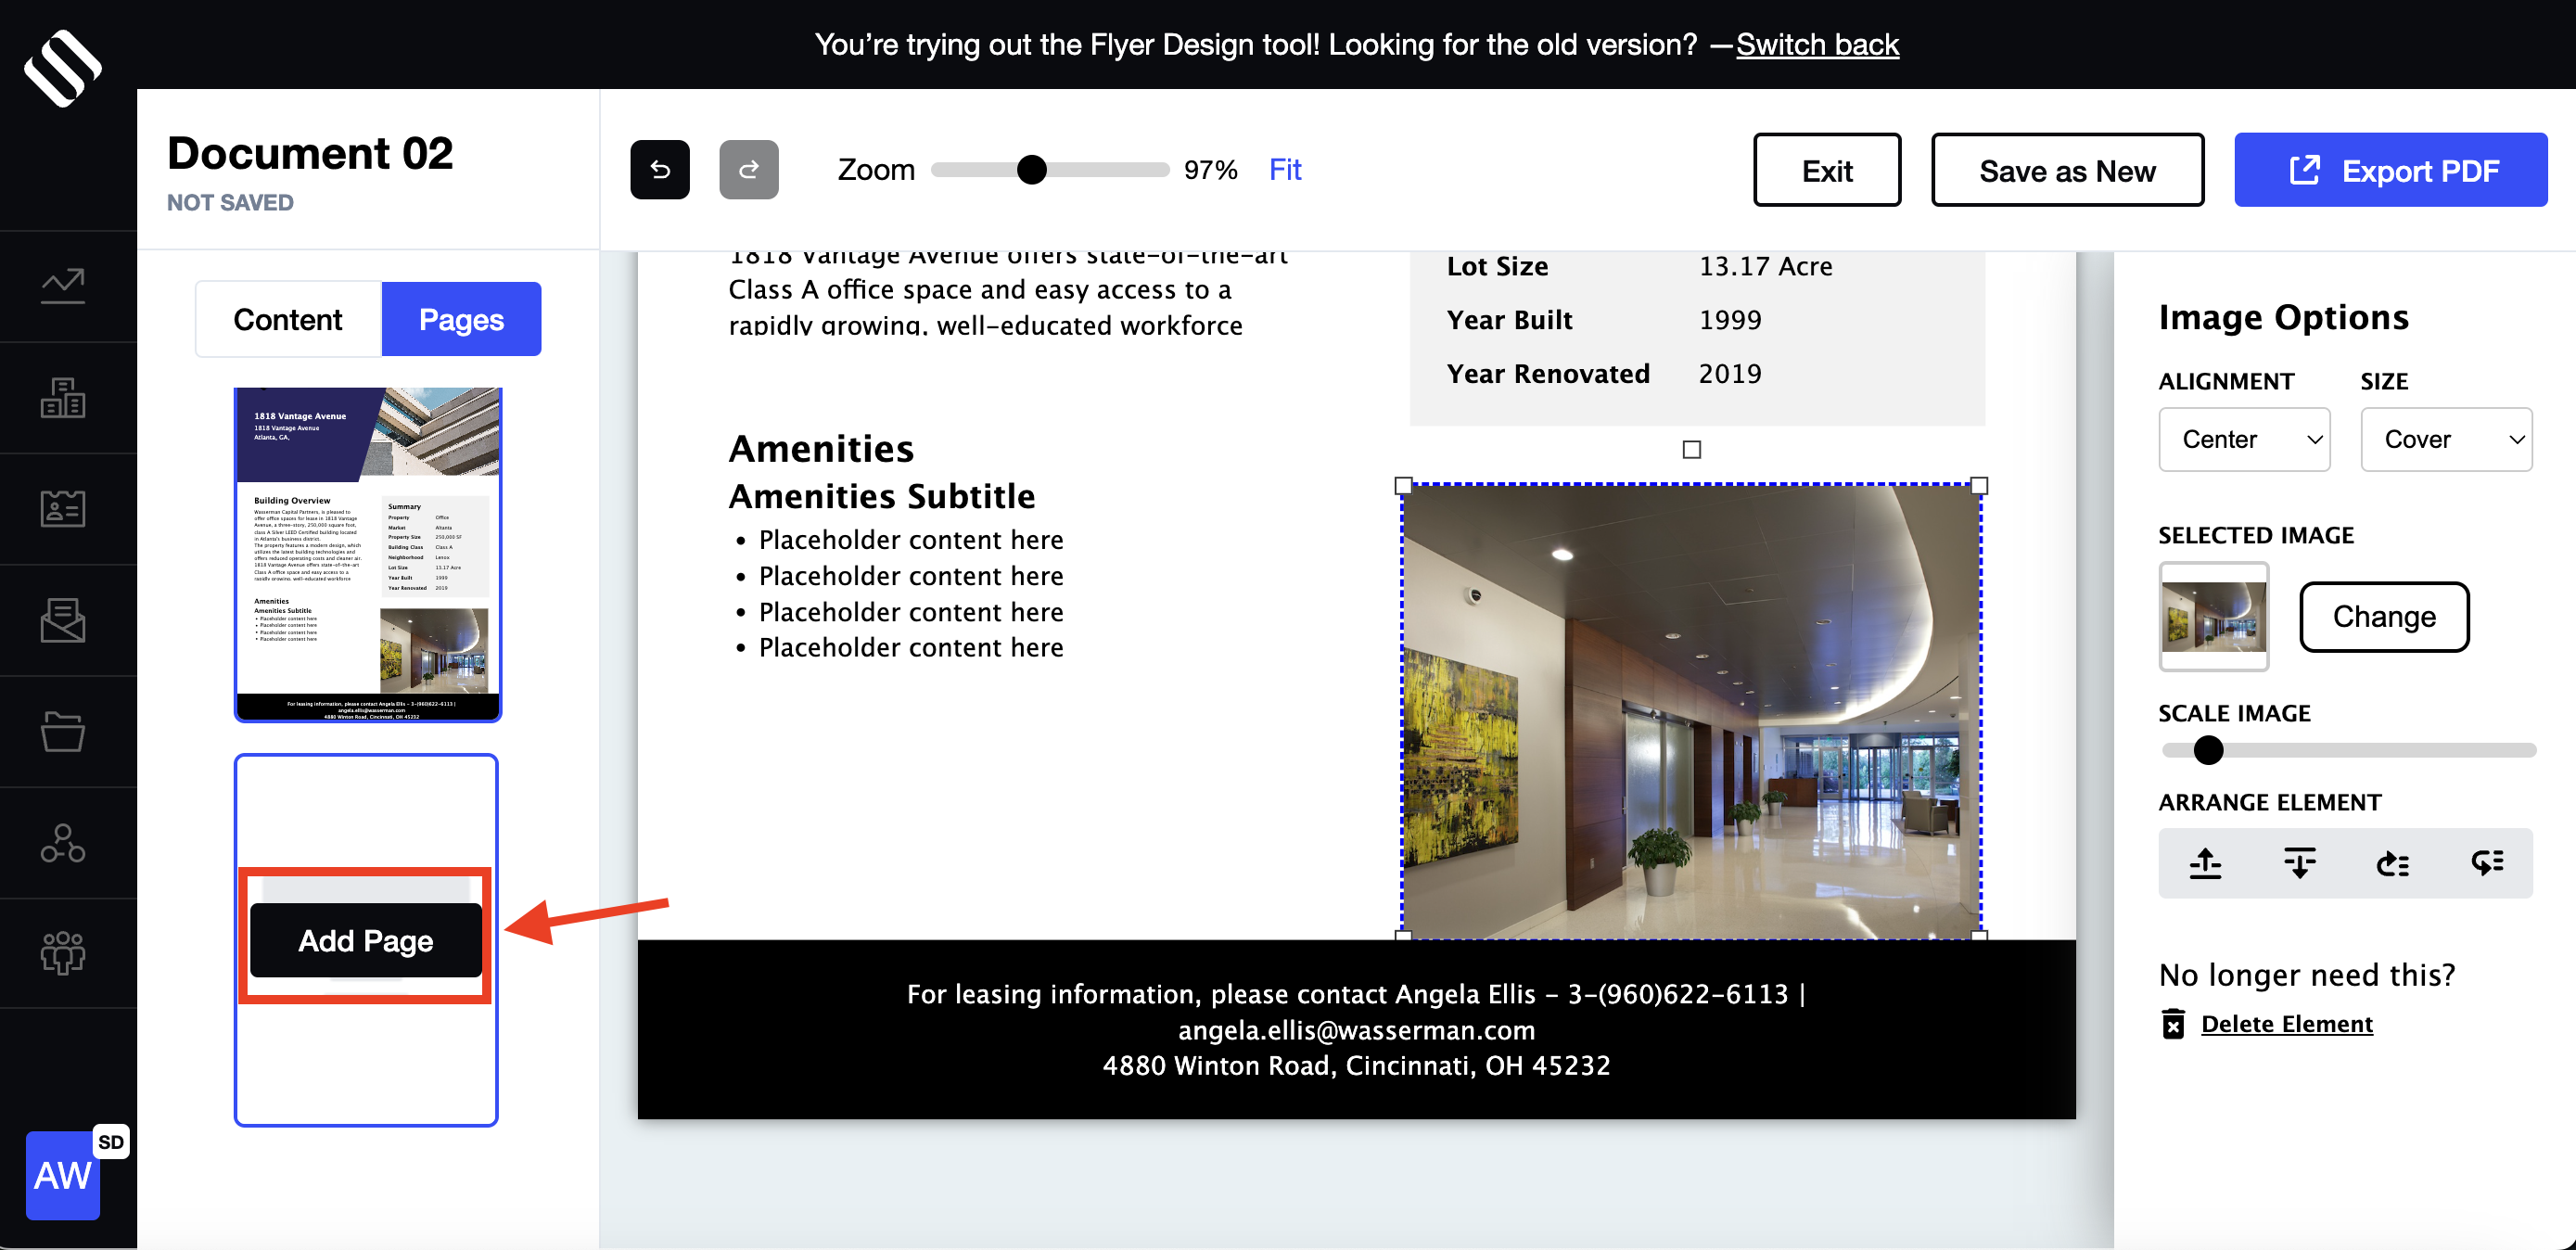
- If you wish to add more pages to a single-page template, click the “Pages” button on the right side and “Add Page”:
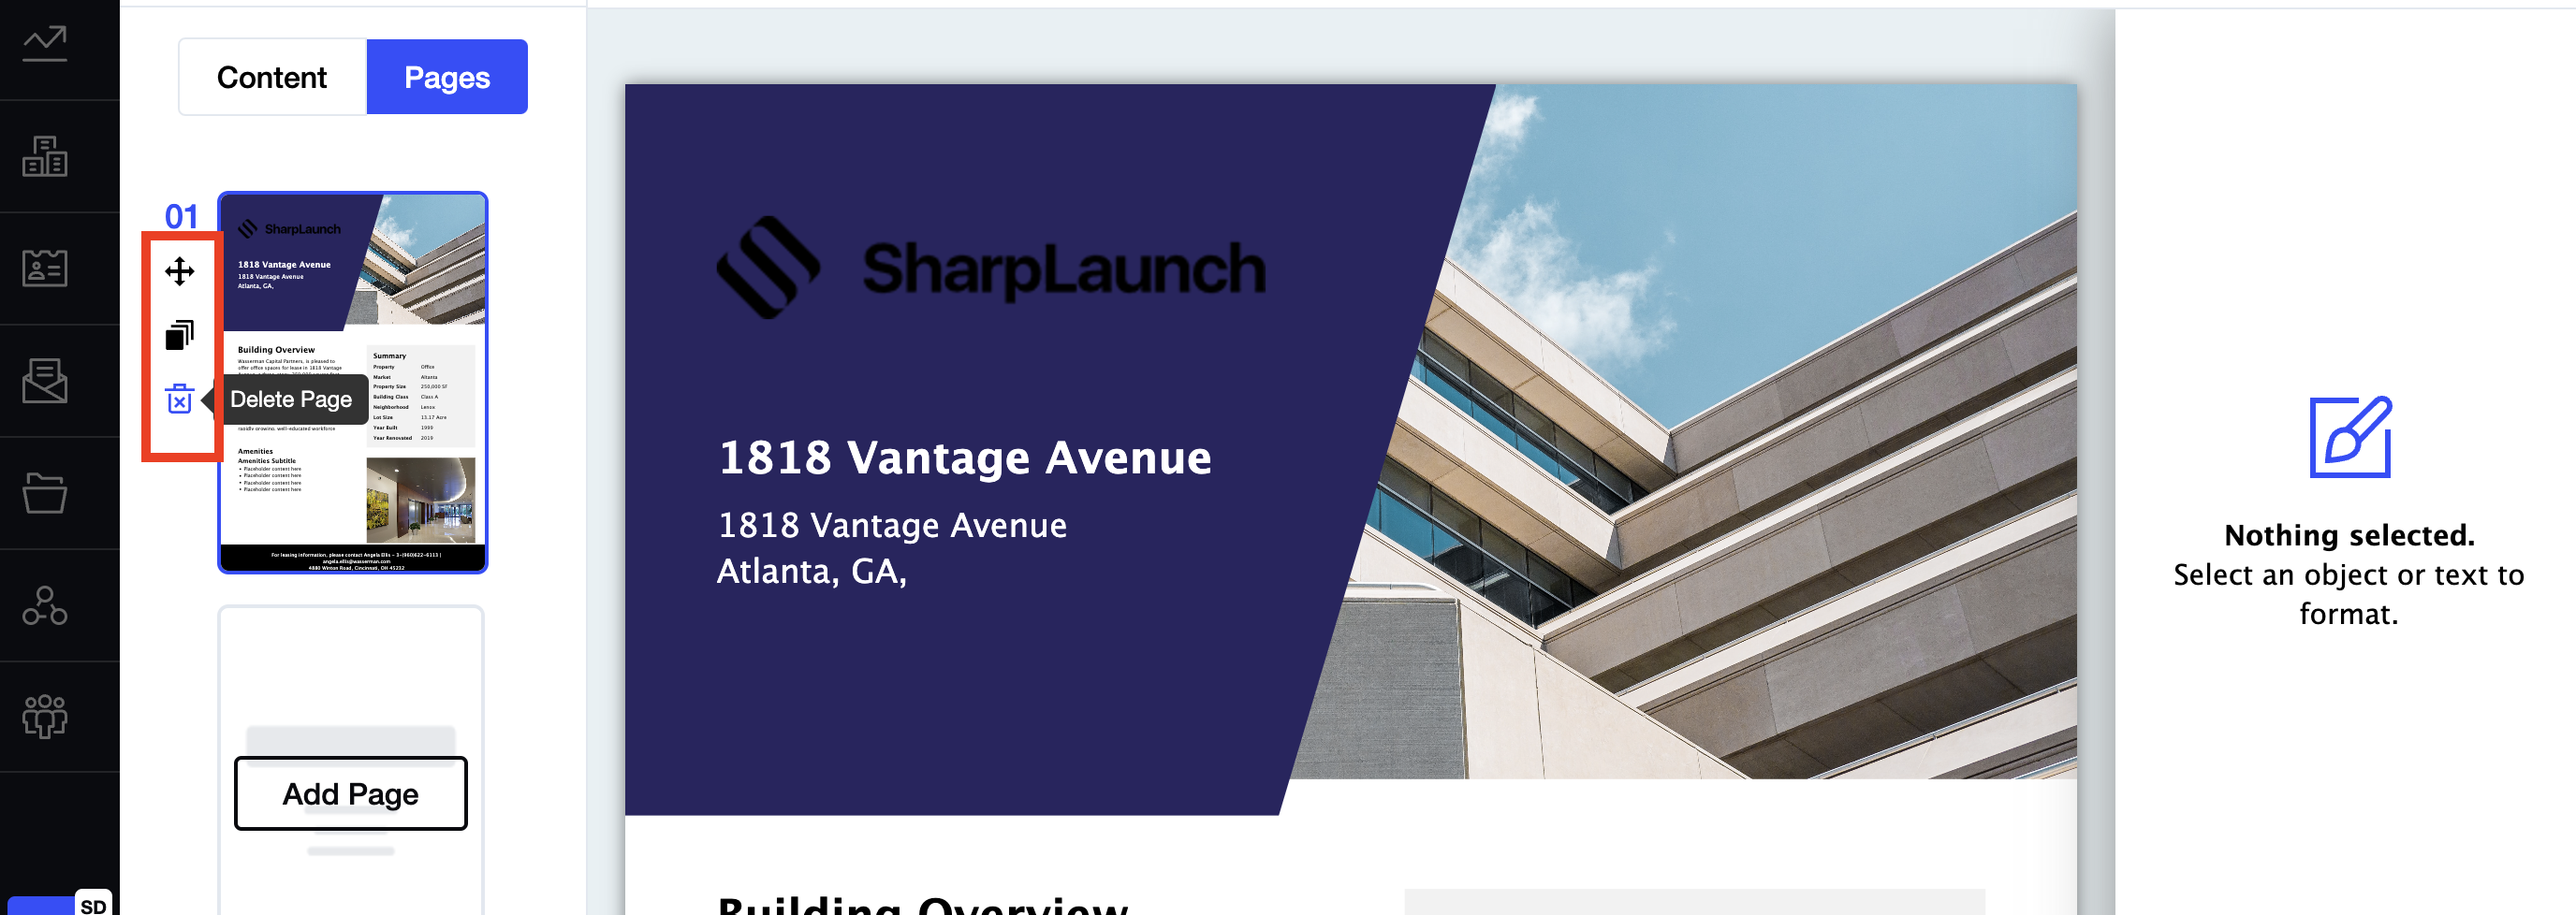
- Pages can be moved, duplicated, or deleted by hovering over them:
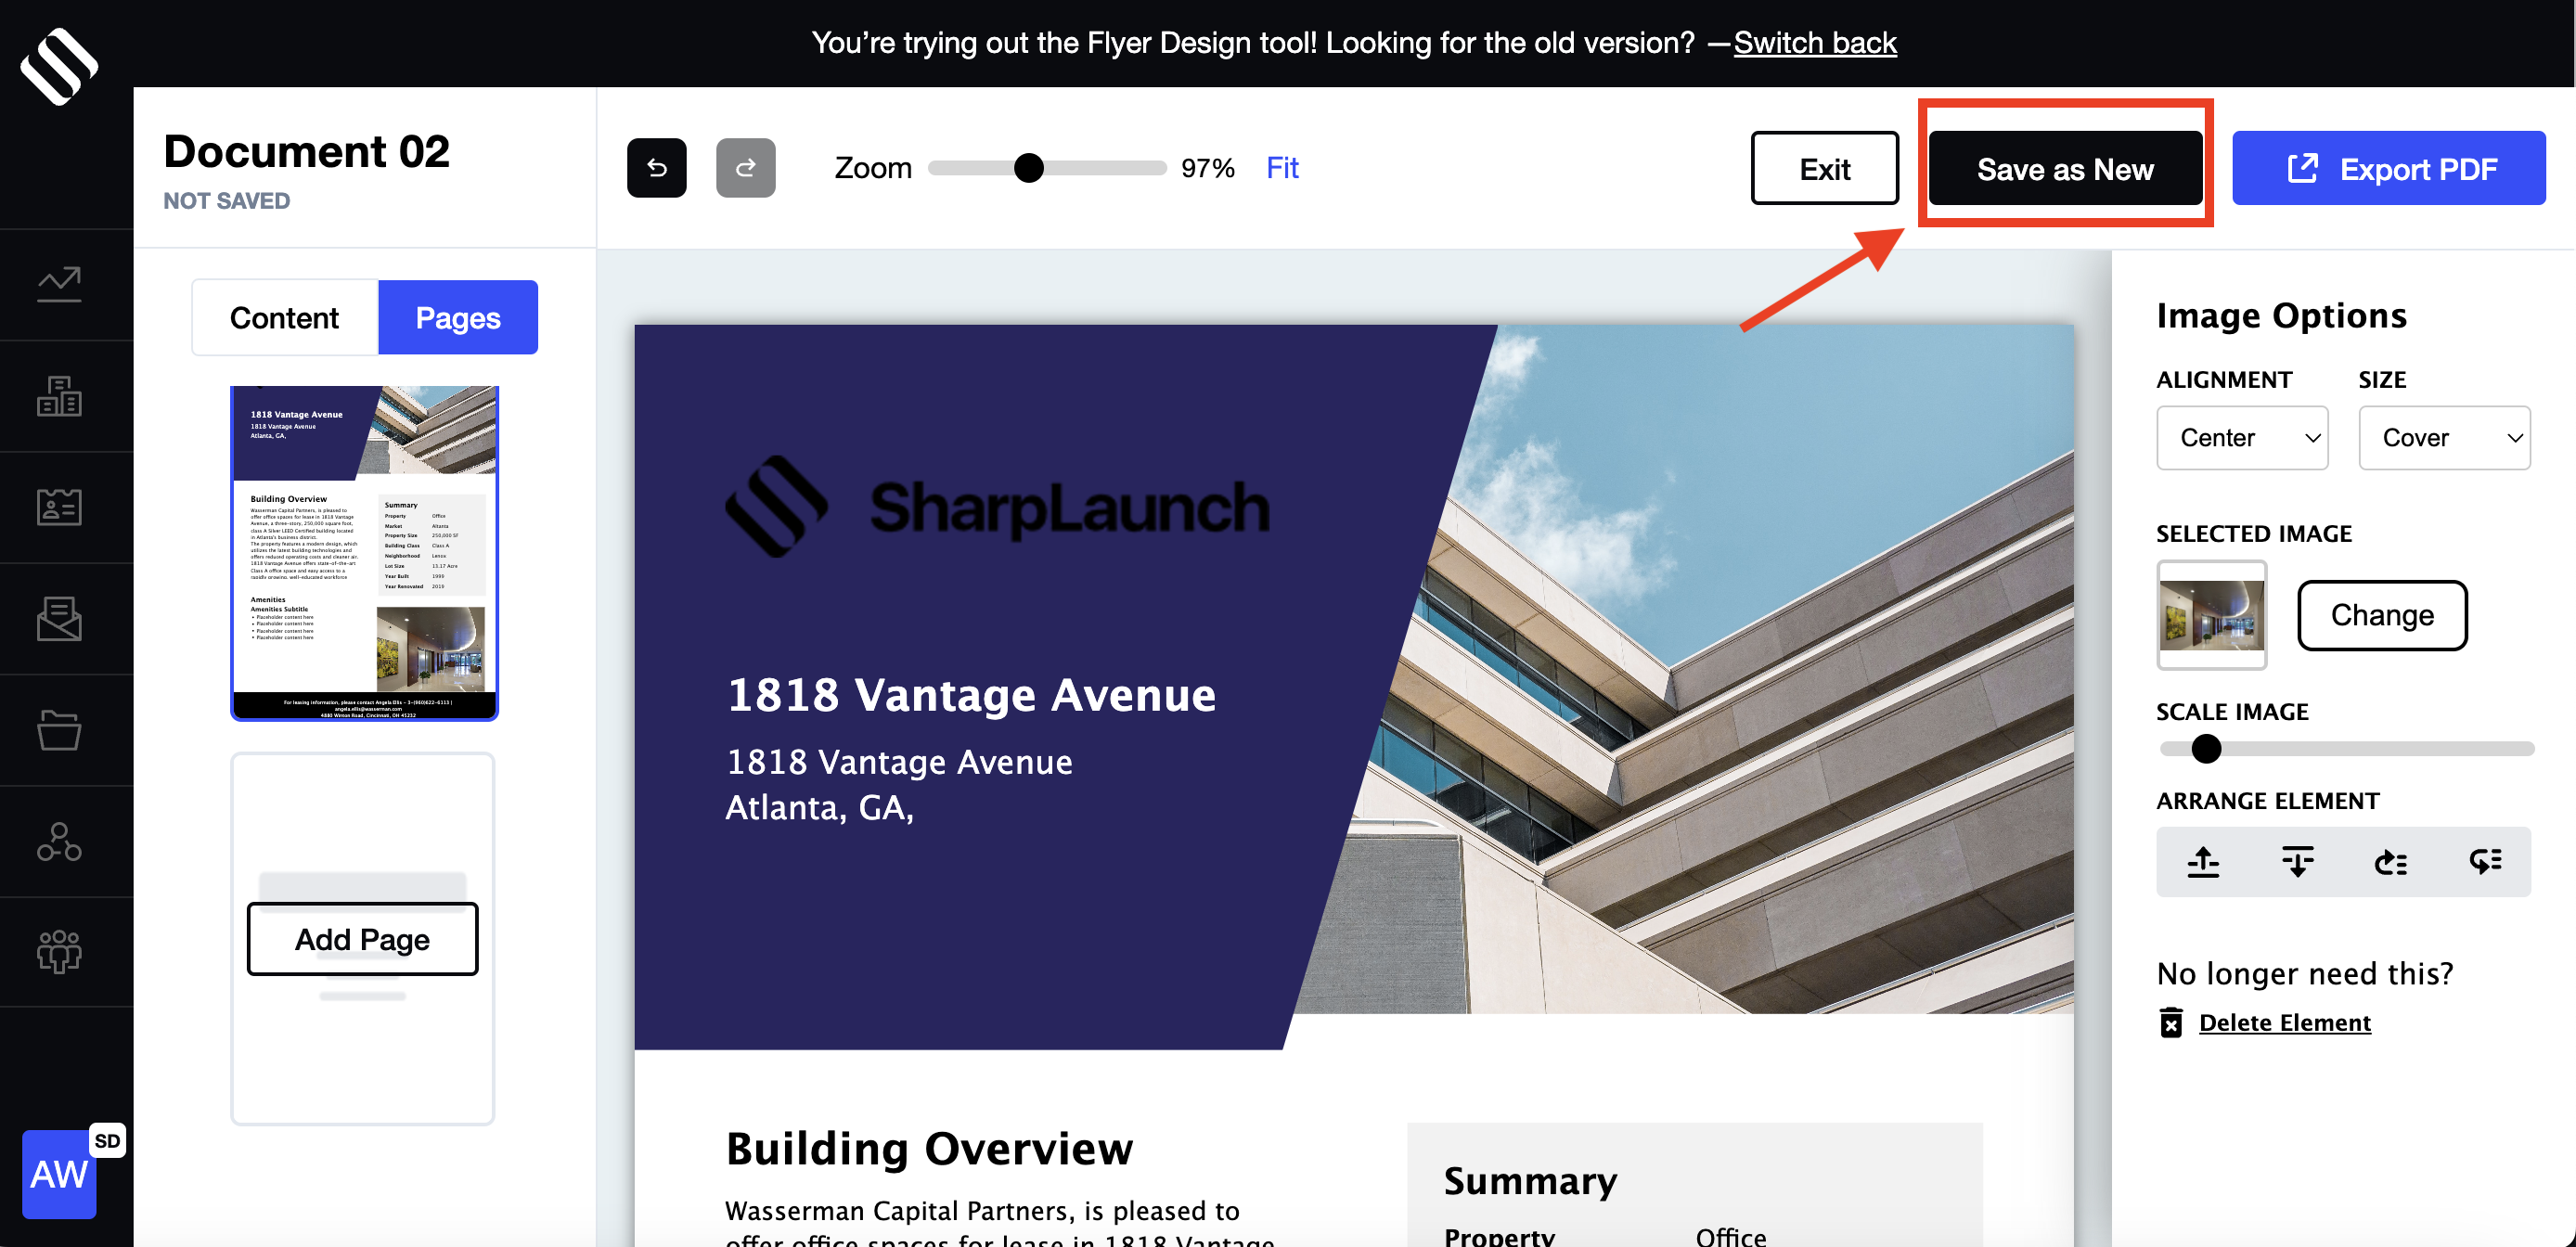
- Once you are done designing your flyer, you can save it by clicking the “Save as New” button at the top of the screen:
- You can also click “Export PDF” to export your flyer in PDF format:
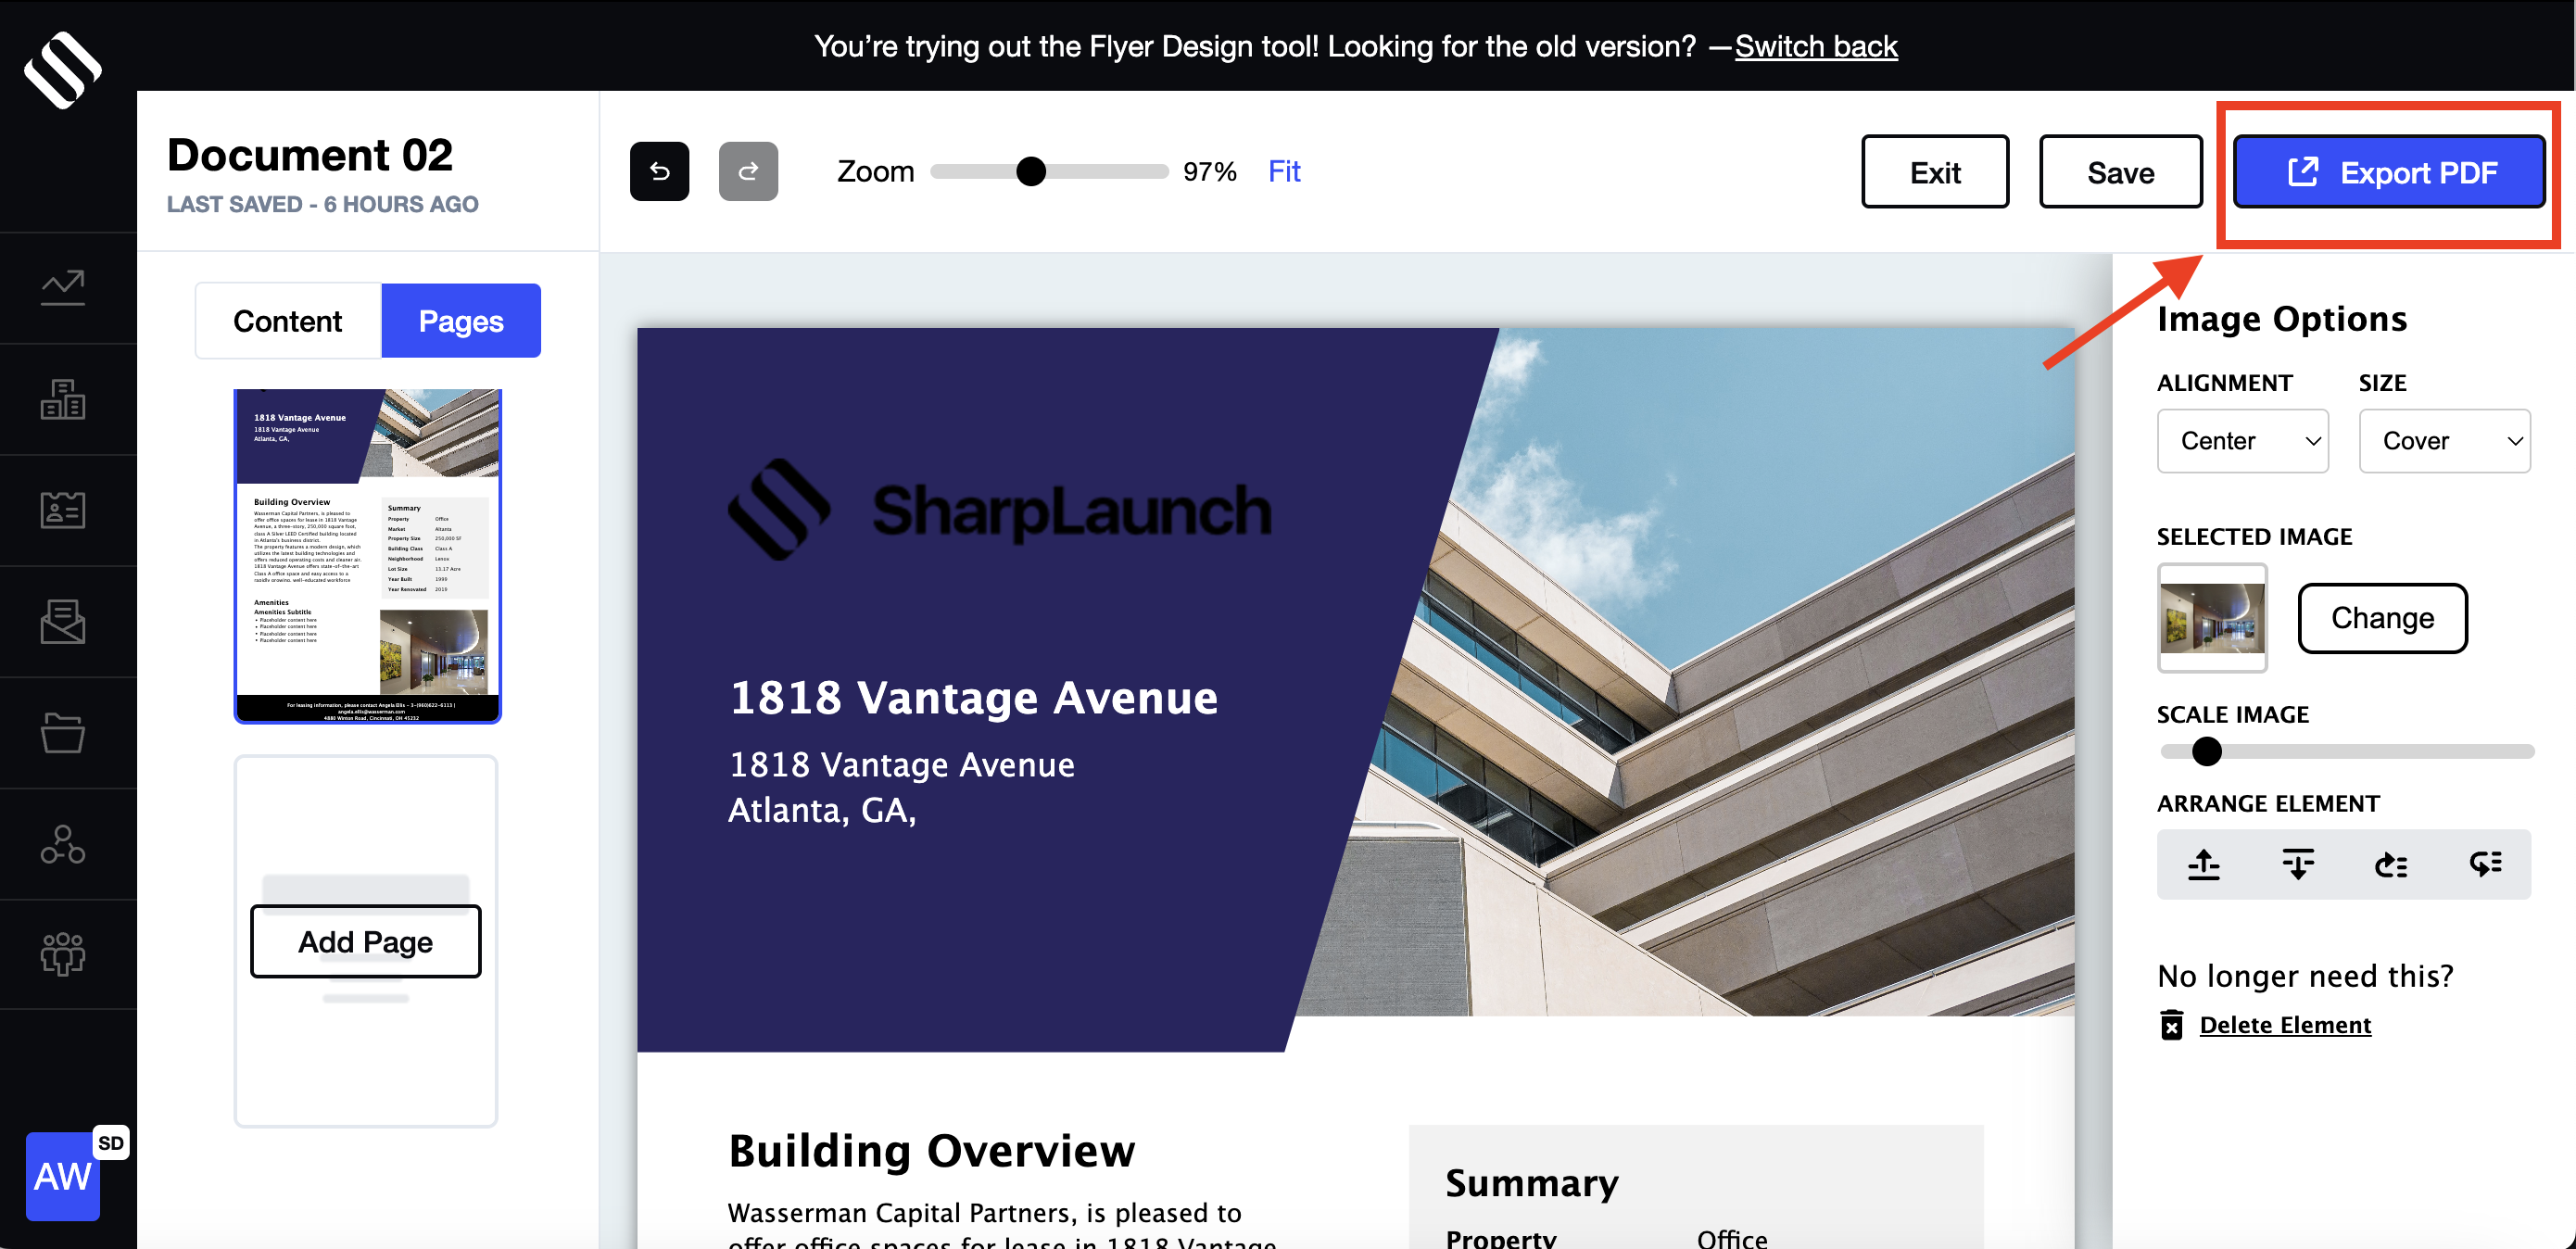
- Please note that it might take more than 20 seconds to generate your PDF depending on how much and what type of content you have created in your design.
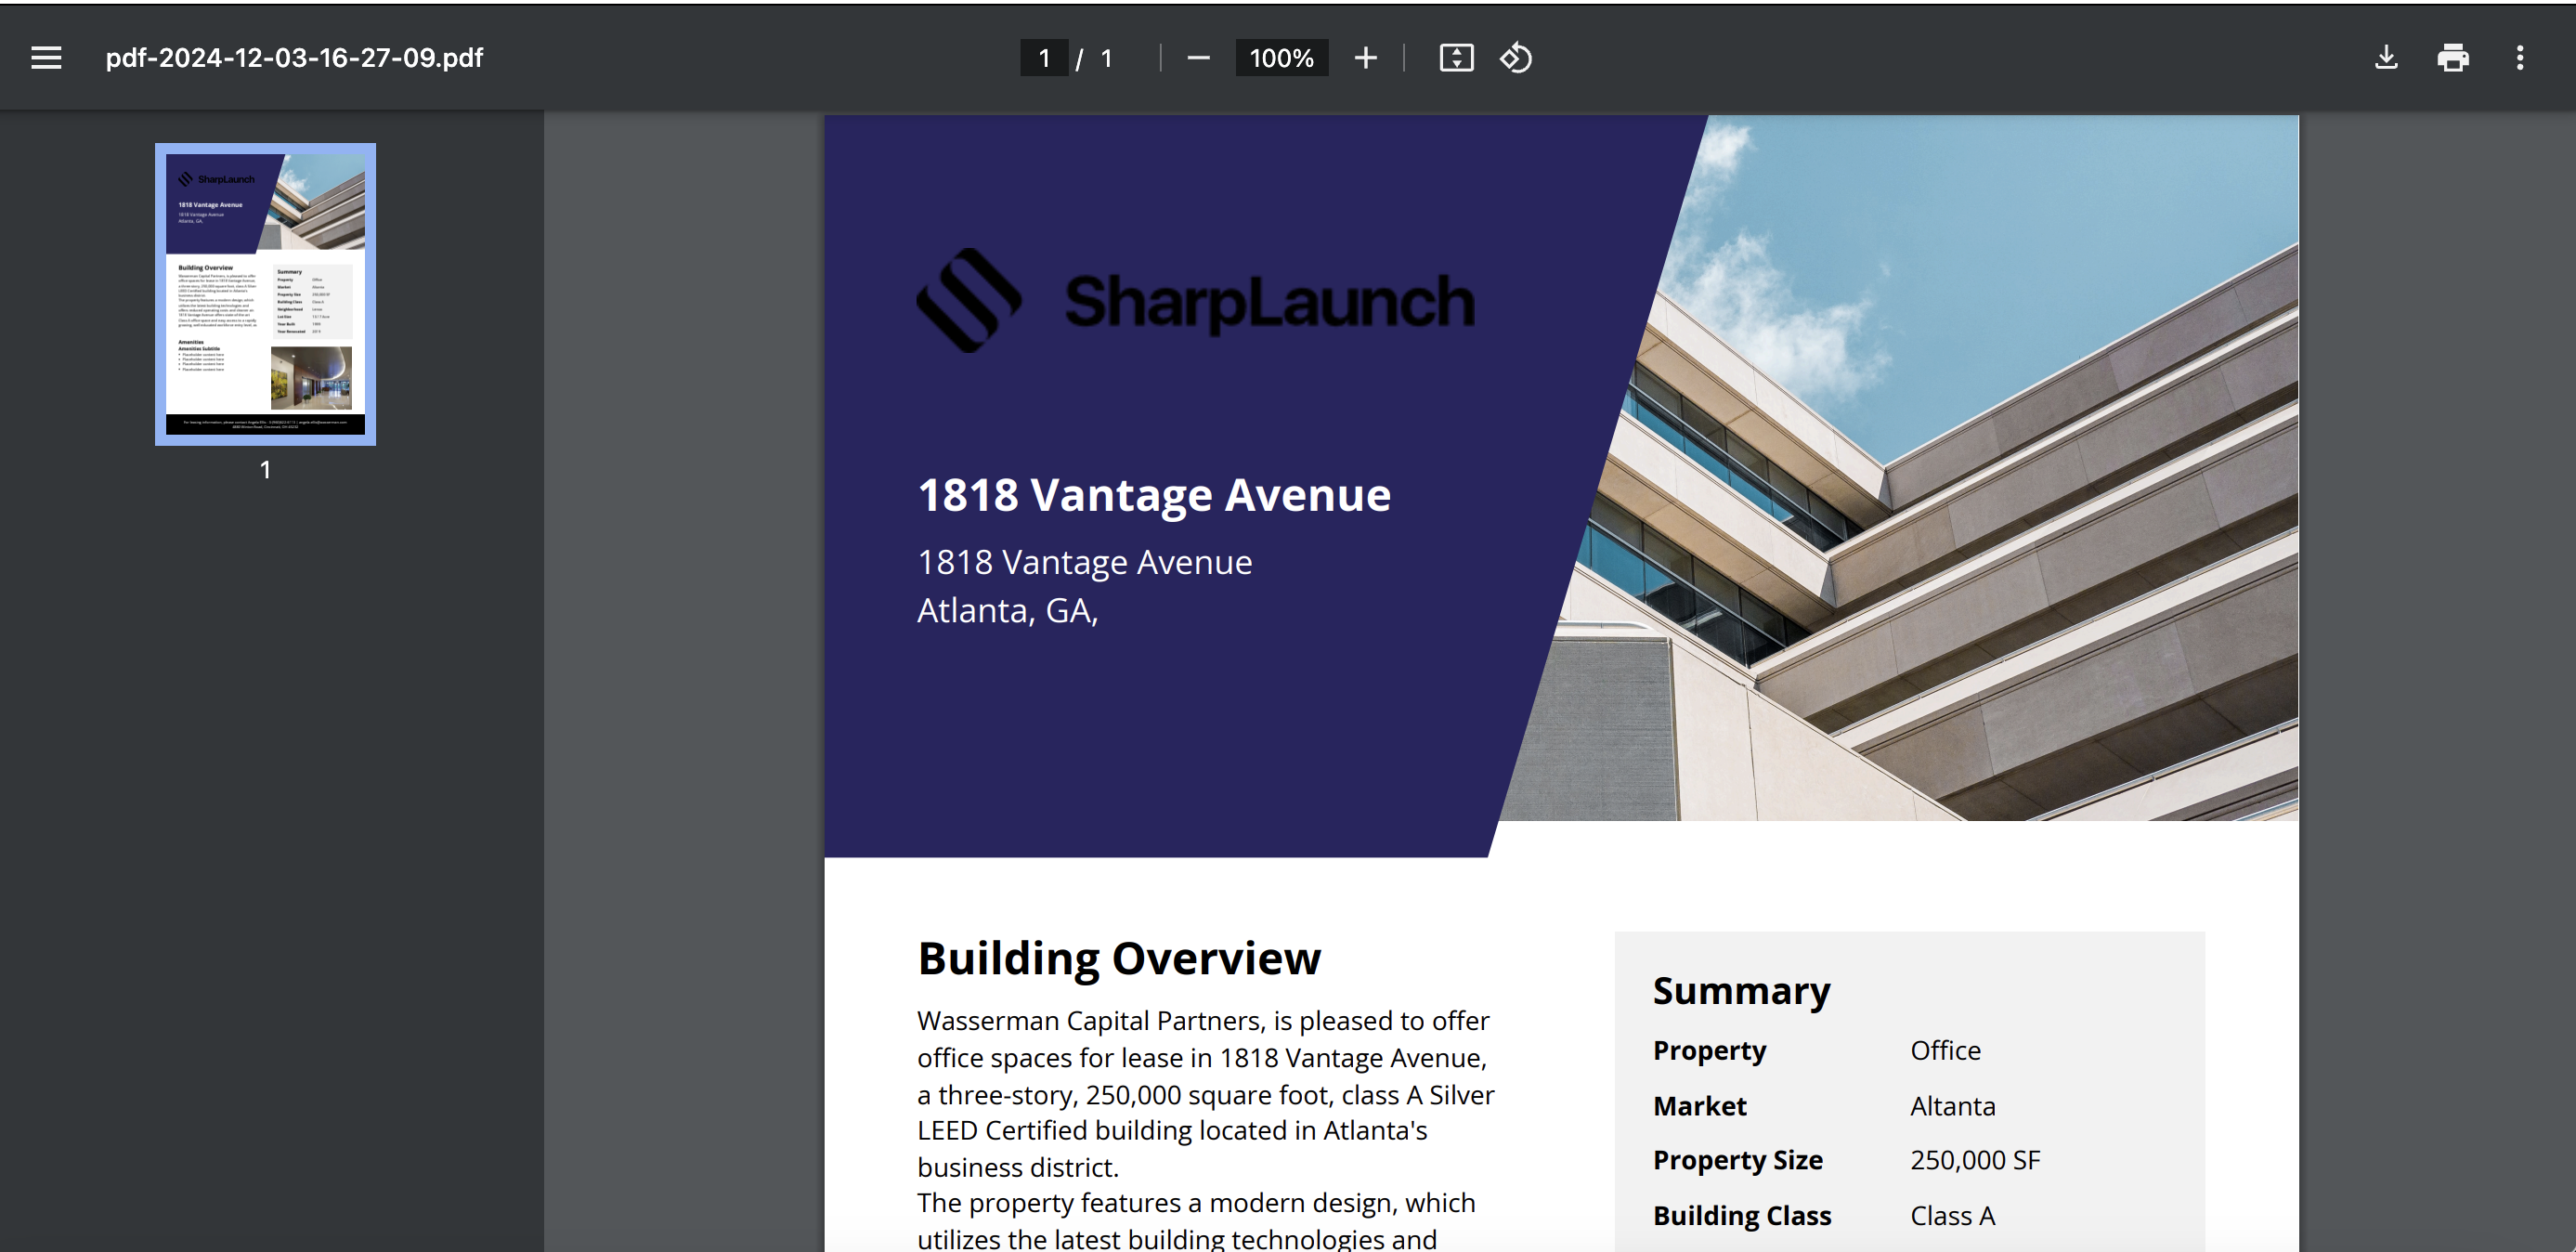
- When the PDF is finished loading, A new tab should open with your new PDF flyer. If it does not, you might need to allow popups from SharpLaunch before seeing it.
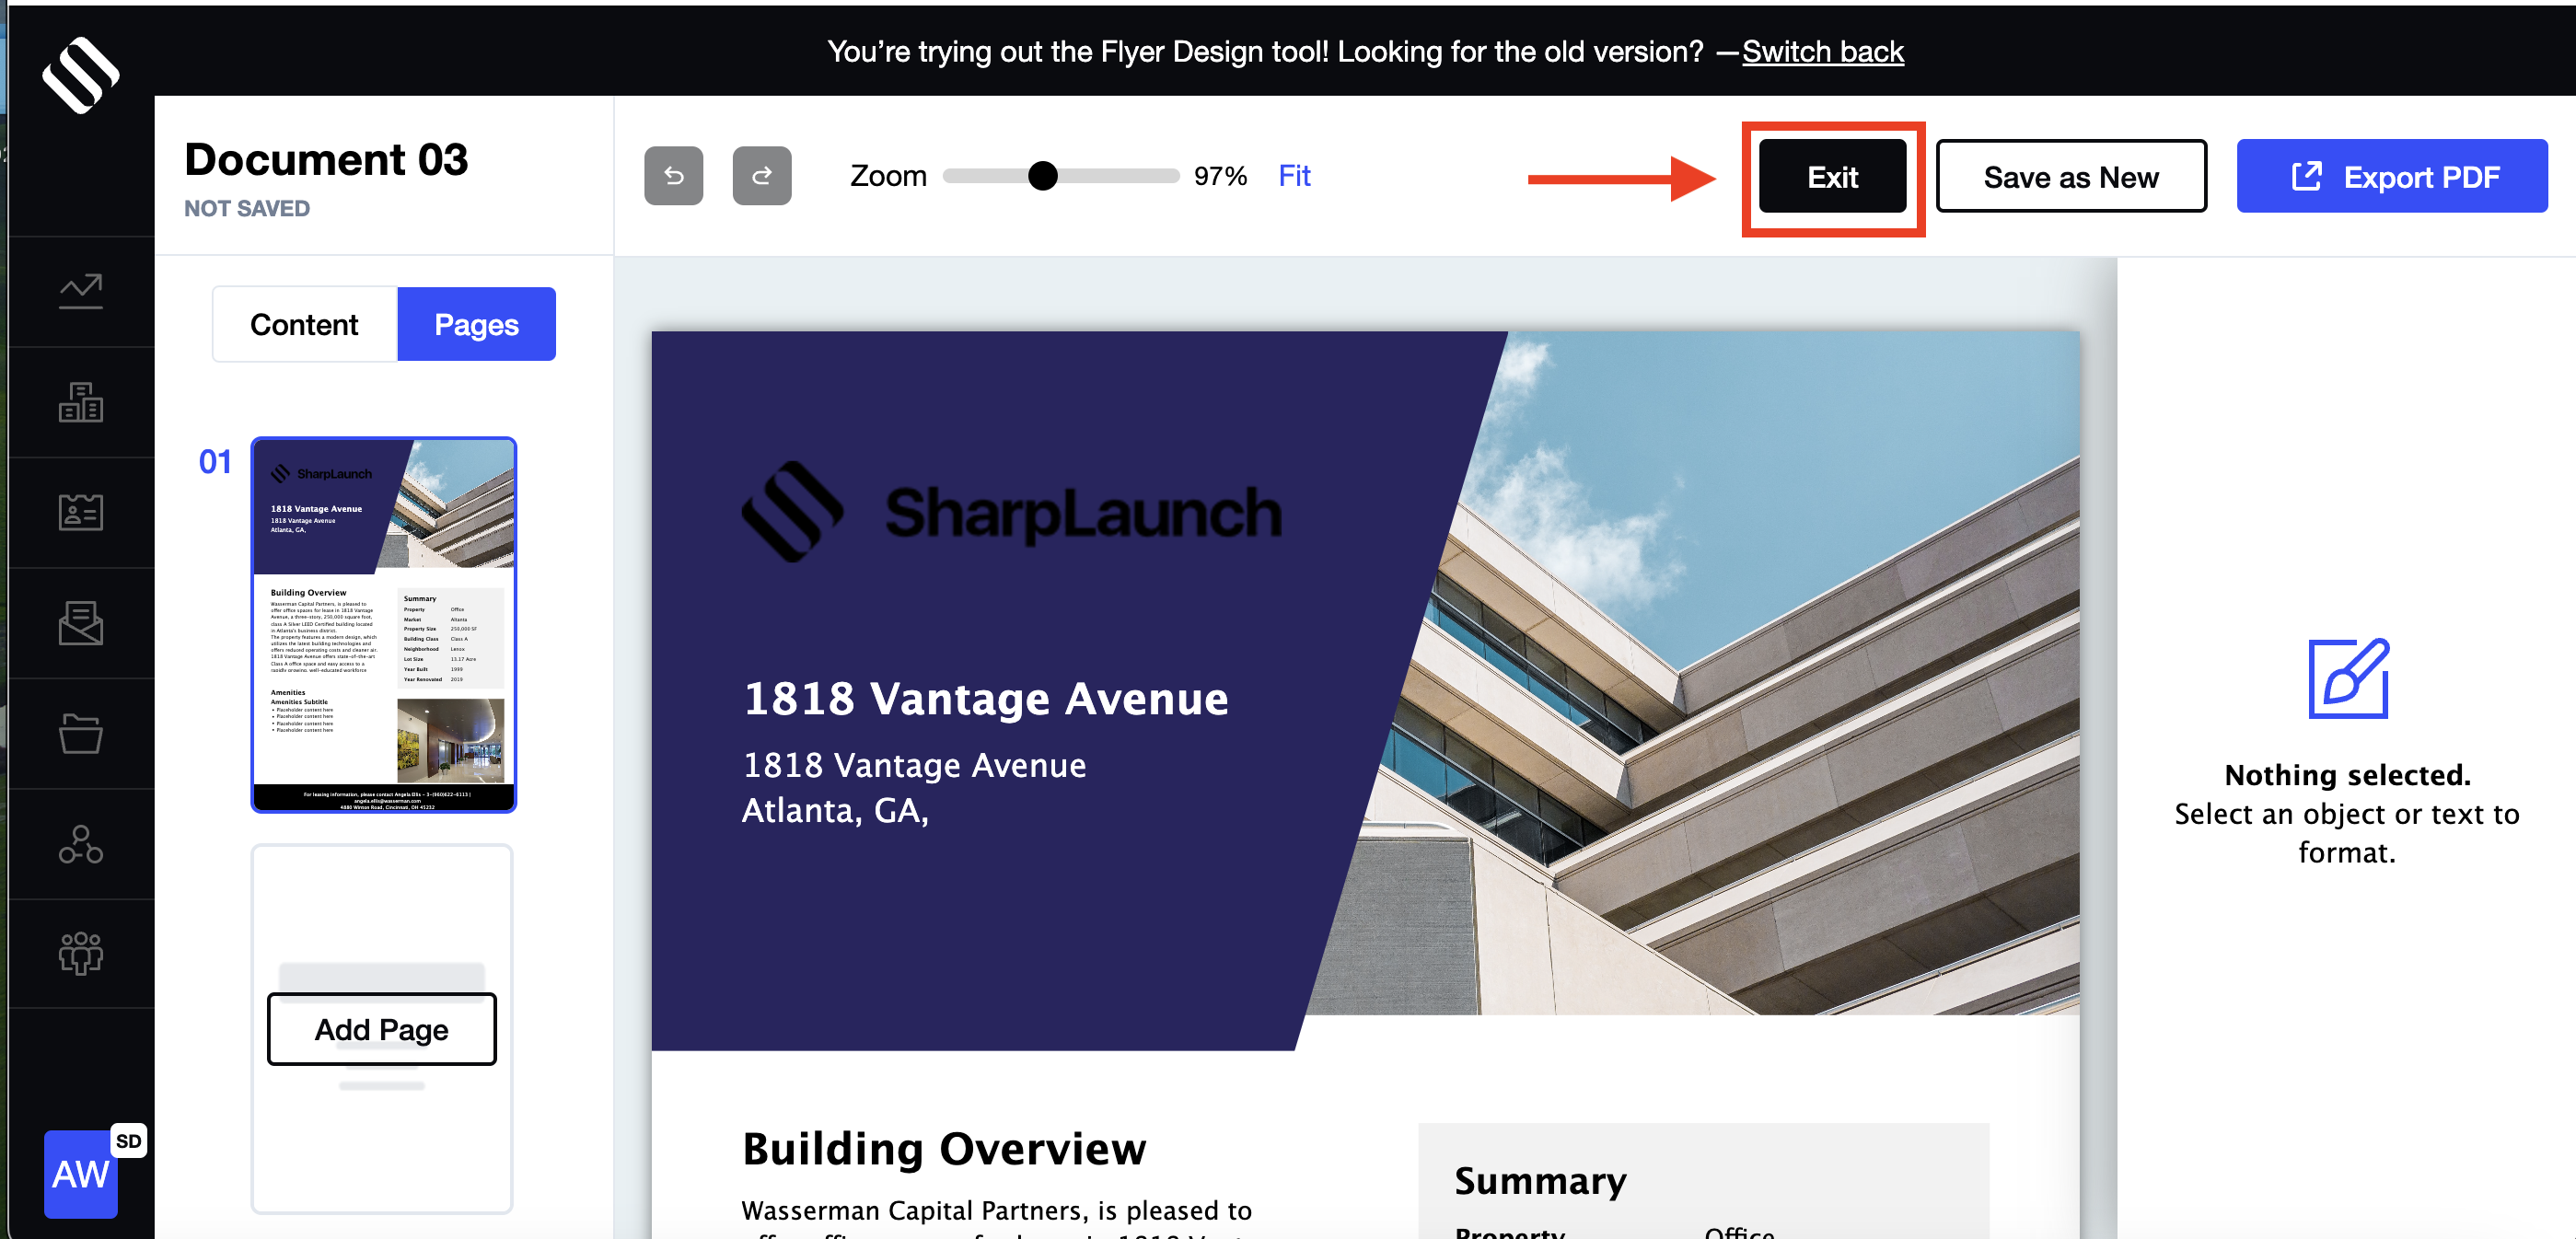
- Go back to the builder (the other open tab) and click “Exit” when finished.
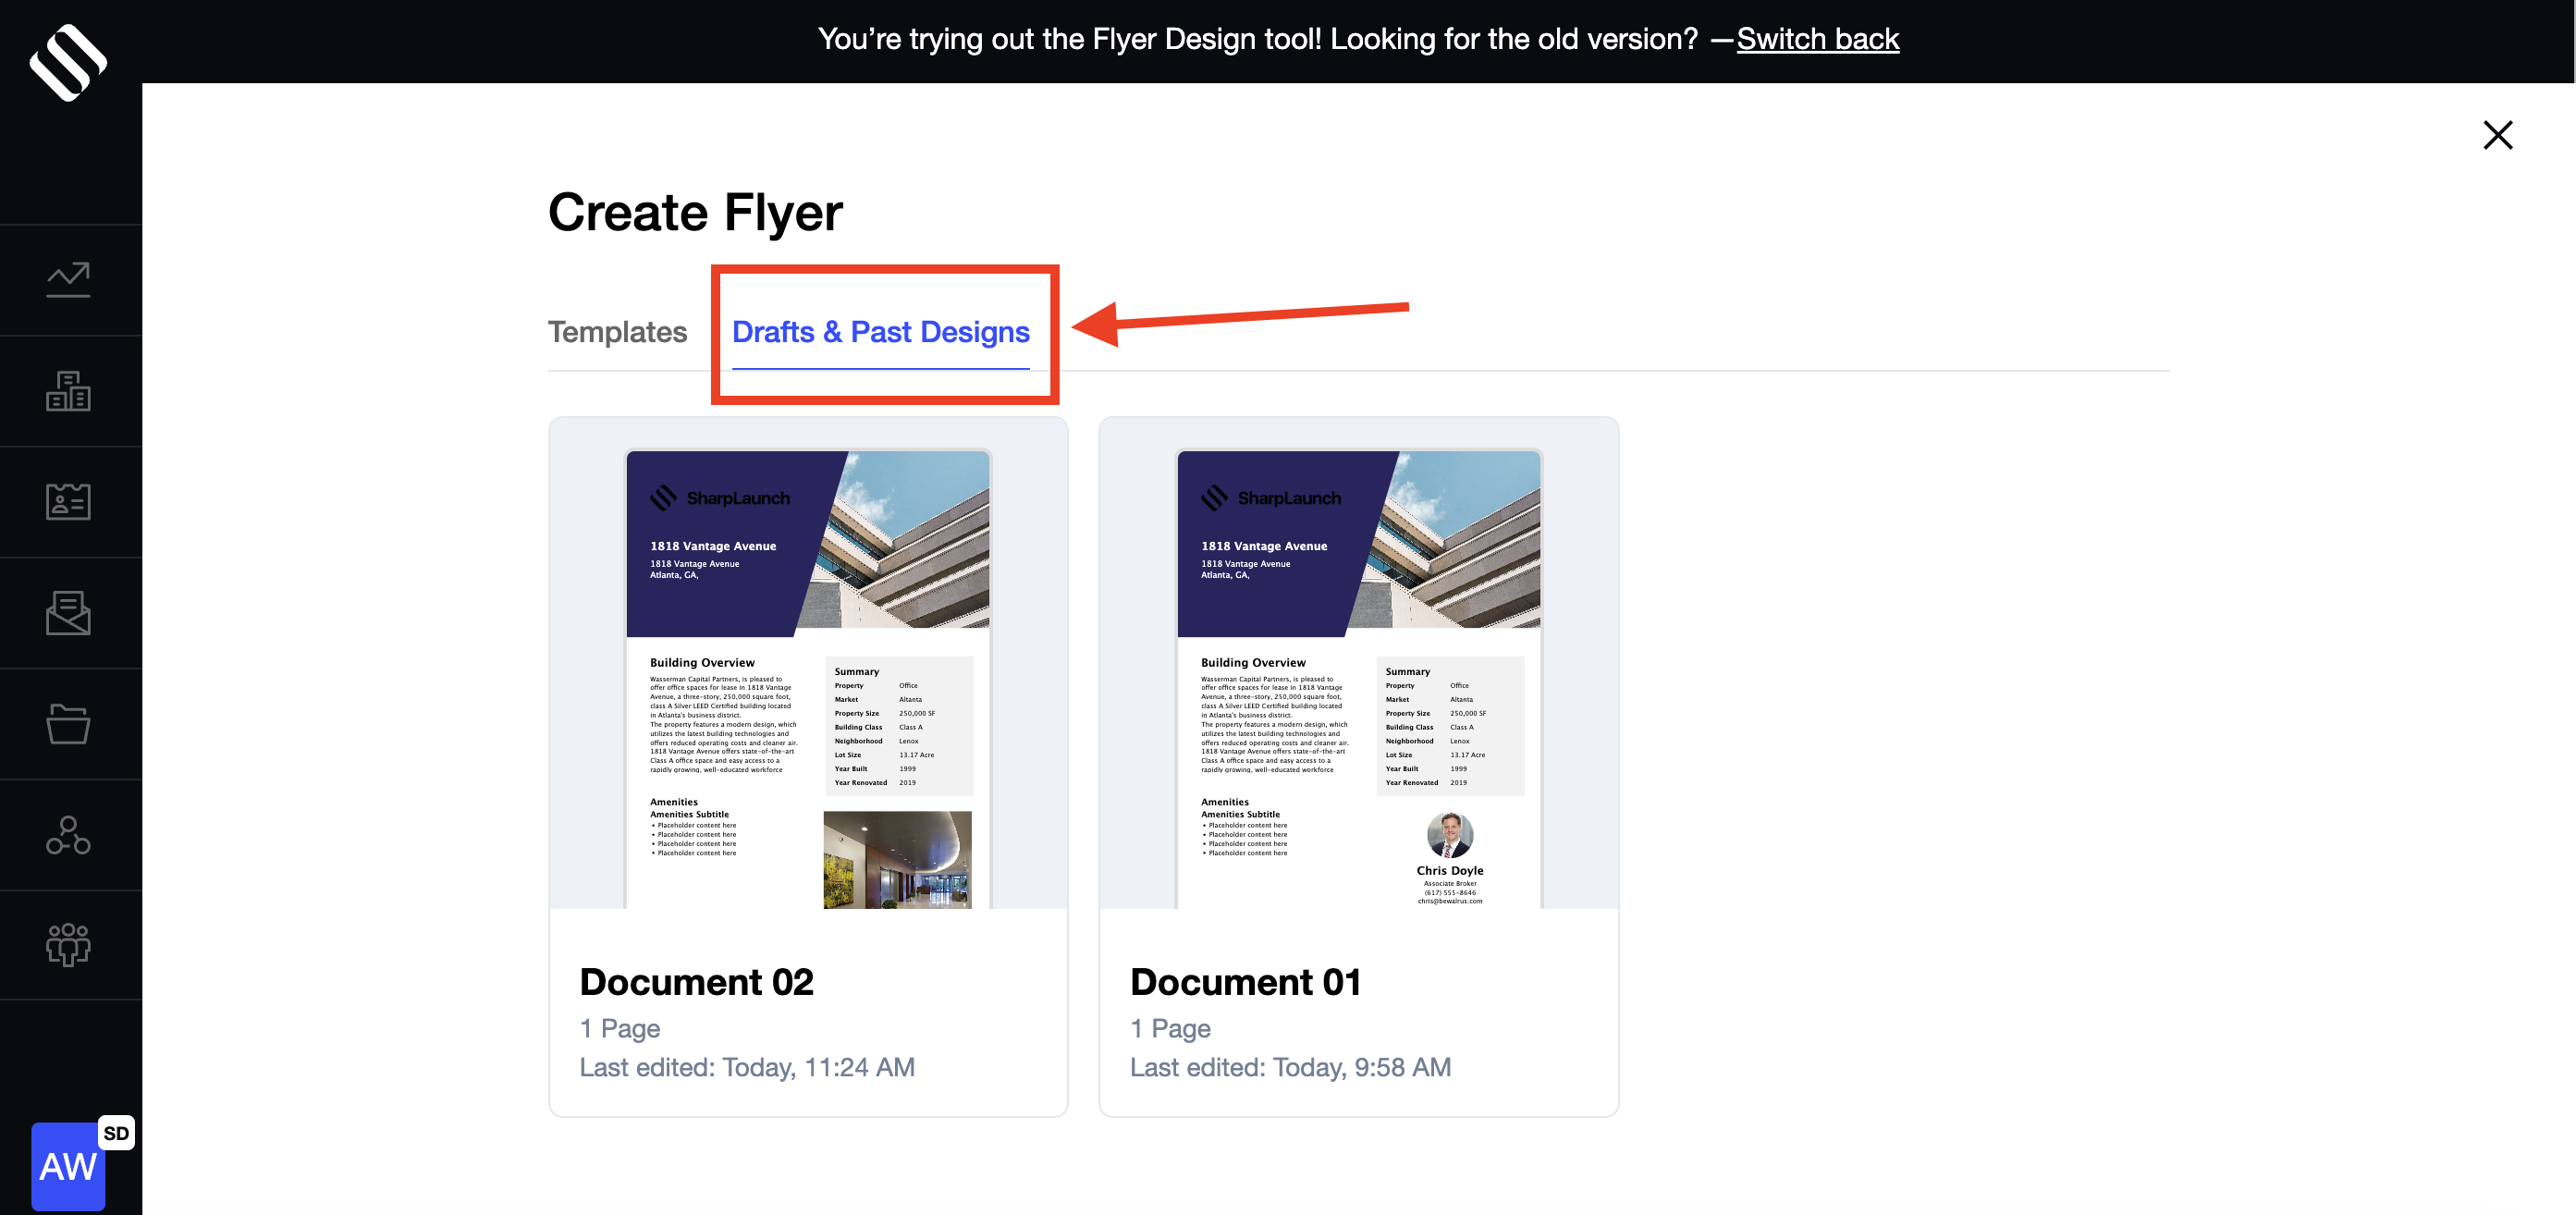
- From here, you can access the “Drafts & Past Designs” you have saved:
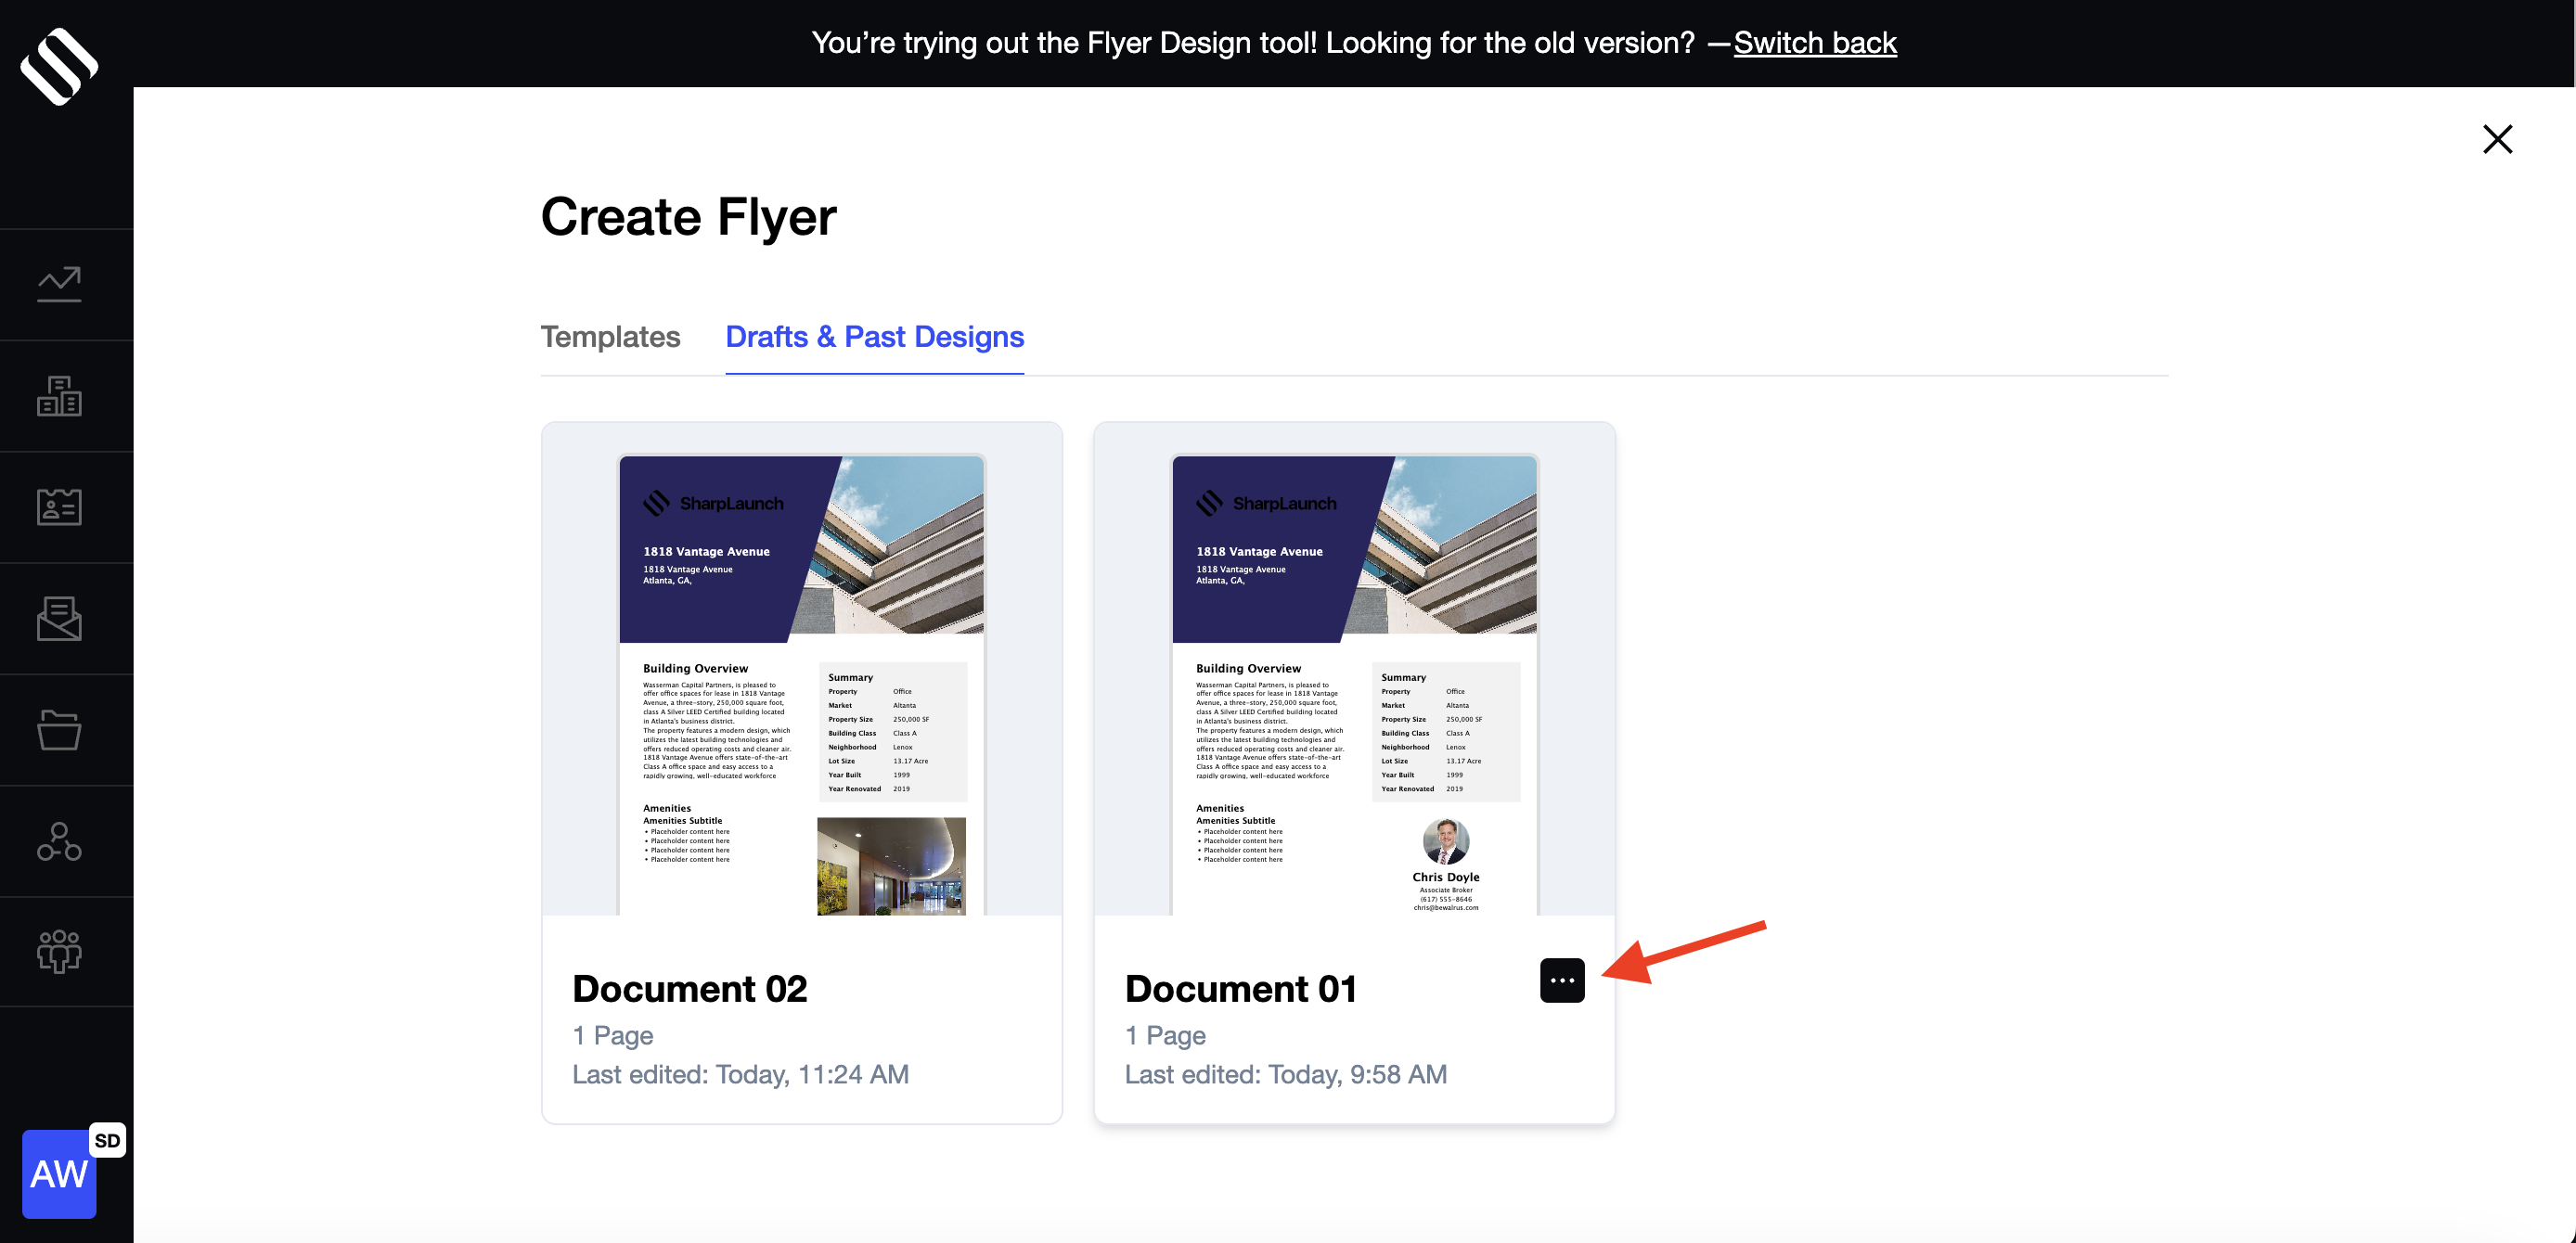
- If you hover your cursor over a draft or design, you will see a small box with three dots appear at the bottom right side:
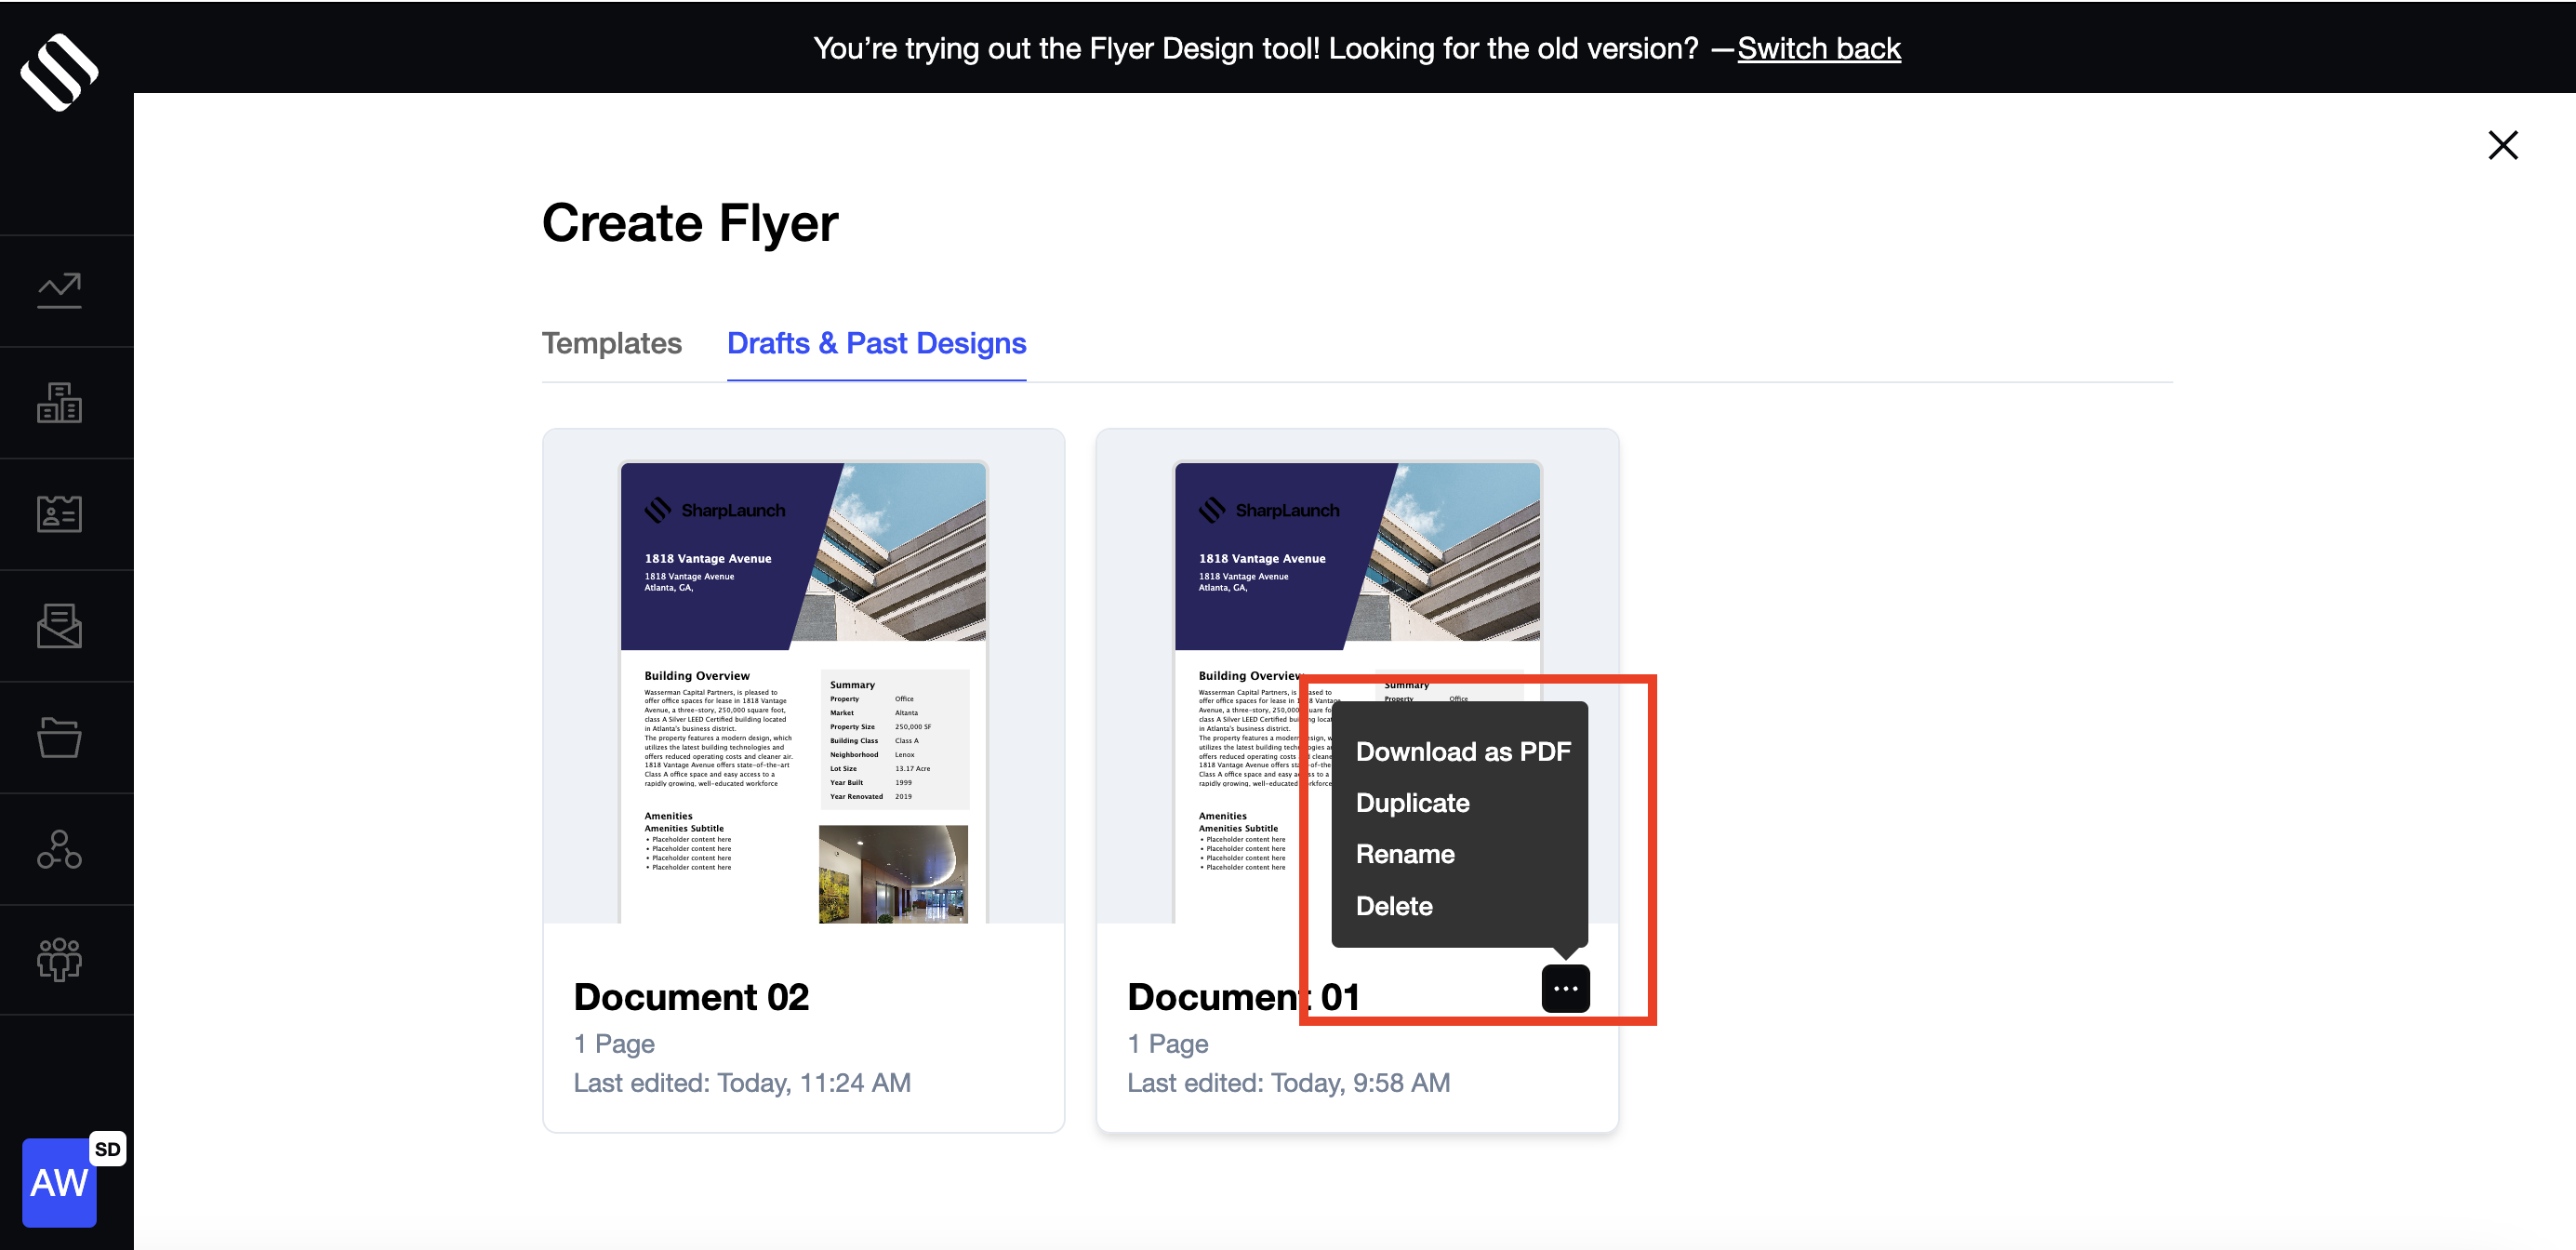
- Clicking on the three dots allows you to take the following actions:
- Download as a PDF
- Duplicate
- Rename
- Delete
If you have any additional questions or feedback, please contact help@sharplaunch.com and someone from our support team will be happy to assist.
