
This article will walk you through creating and sending an email campaign so that you can start engaging with your contacts.
Before you can create an email campaign, you will first need to create a list of leads to send the campaign to and segment them in case you would like your email campaign to target only one specific segment of your leads.
Creating Your Campaign
Once you have added your leads, you are now ready to create your campaign. Each new campaign is made up of 4 steps
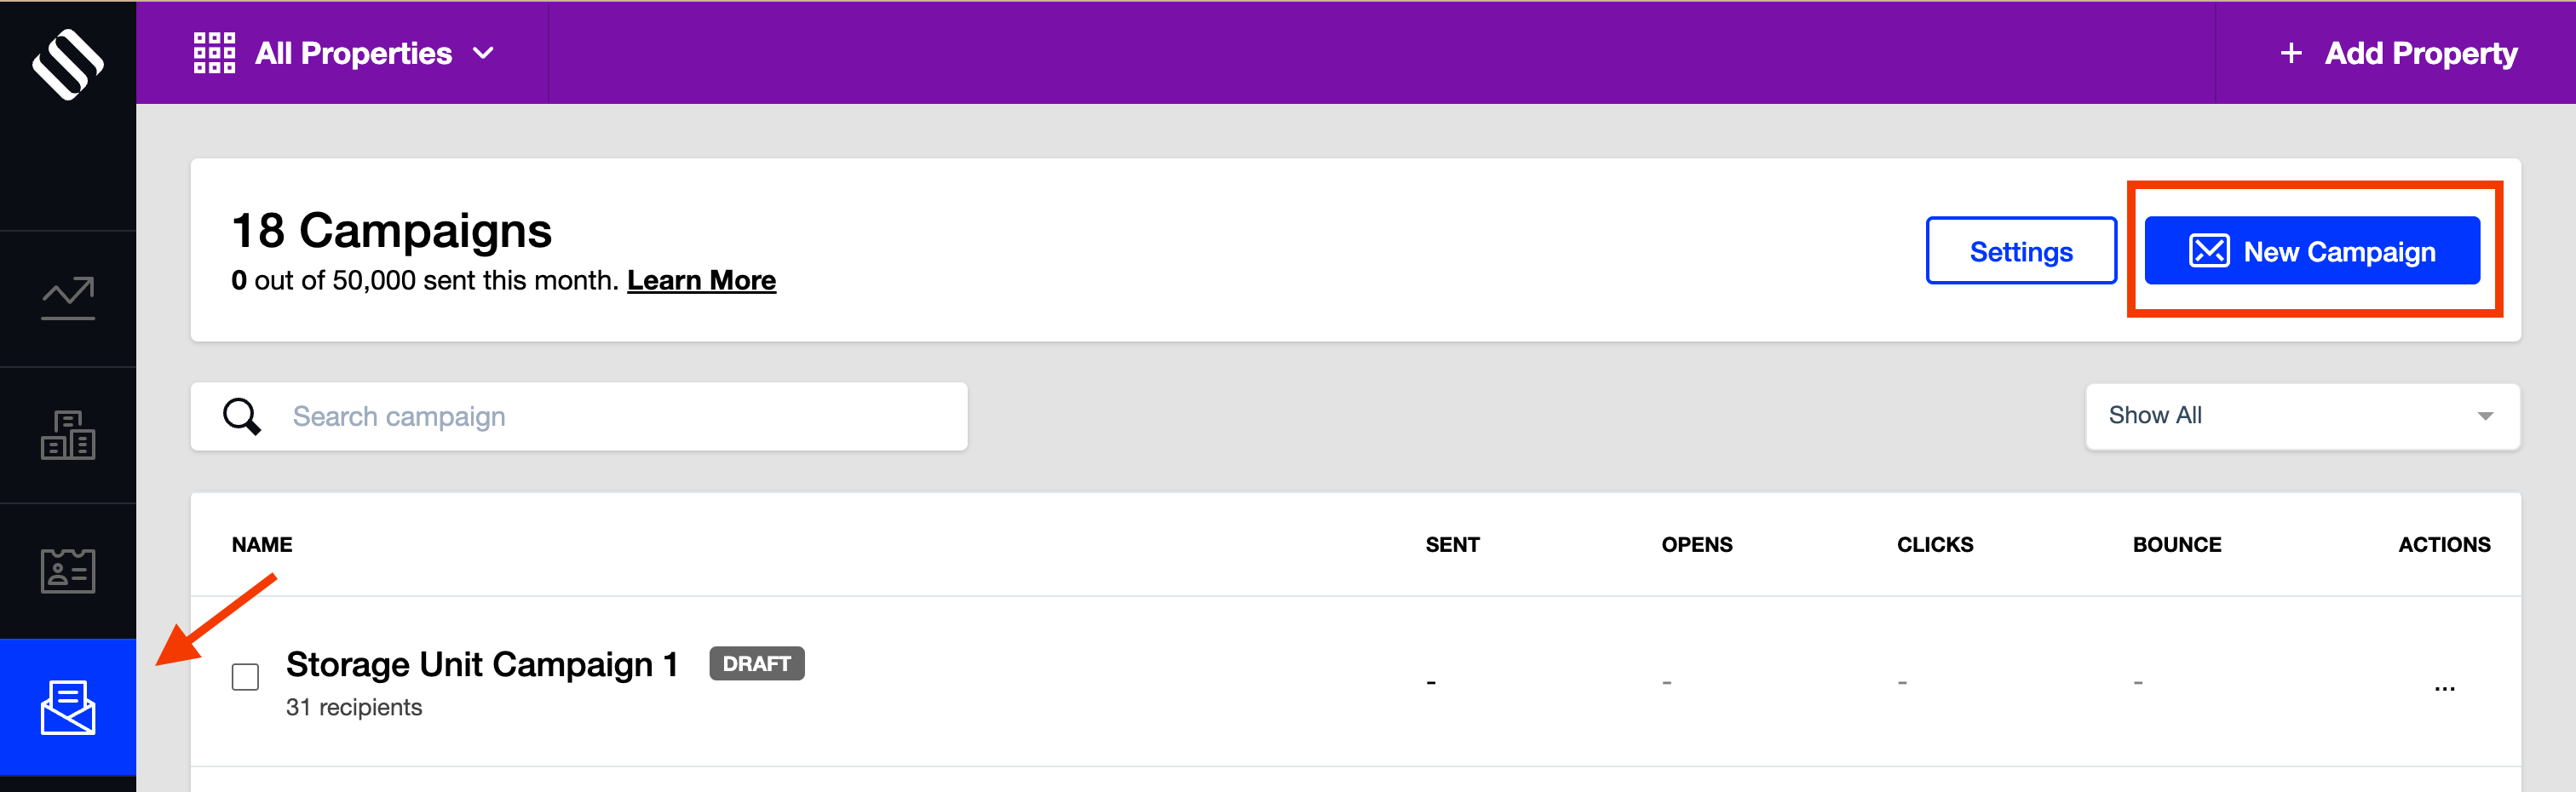
- Locate the “Email” menu button on the left sidebar and access it
- Click “New Campaign” in the top right-hand corner of the screen
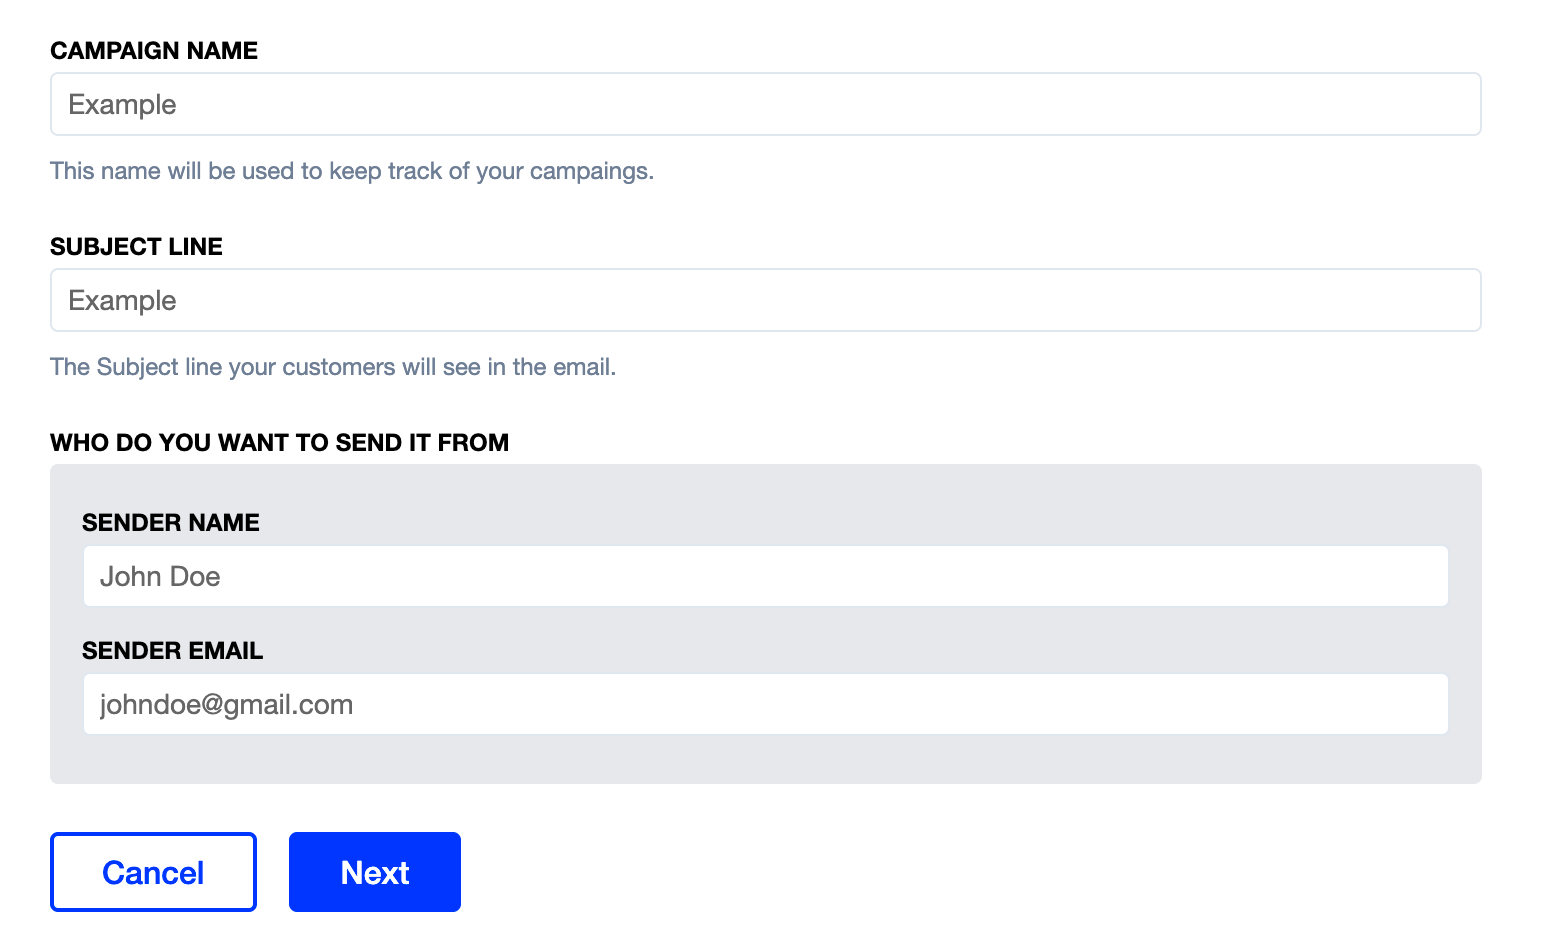
Step 1 – Add Campaign Information
From here you can add the campaign name, the subject line, and the name and email of the person you want to send the email from.
The campaign name is only visible in SharpLaunch, while the subject line is what the recipients will see in their inboxes.
Note: You can choose a sender who is not part of your account (i.e., not added as a team member). To do this, click Edit and enter the sender’s name and email address.
-
If you have an Enterprise Email plan, both the sender’s name and email will appear in the recipient’s inbox.
-
If you do not have an Enterprise Email plan, the sender’s name will appear, but the email will be sent from a SharpLaunch domain.
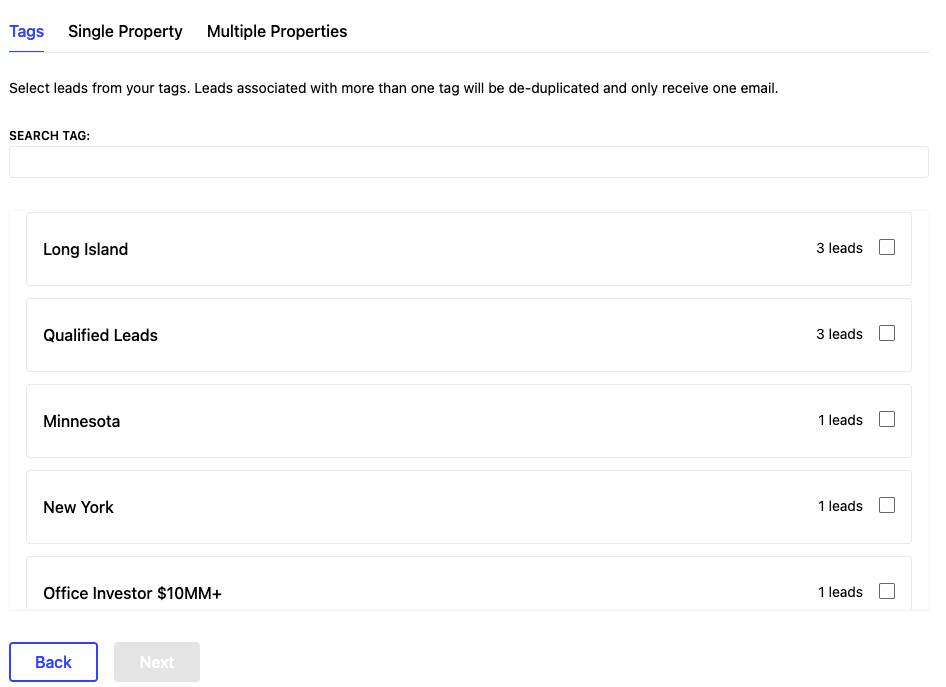
Step 2 – Select Recipients
You have the option to select Tags, Single Property or Multiple Properties.
From Tags
When selecting a tag, the email is sent to all the recipients that are associated with that specific tag. Admins can keep the leads linked with their properties without having to move them from one property to another.
- Multiple tags can be selected when sending an email campaign
- When multiple tags are selected, and one or multiple email address are associated with both tags, each address will only receive one email
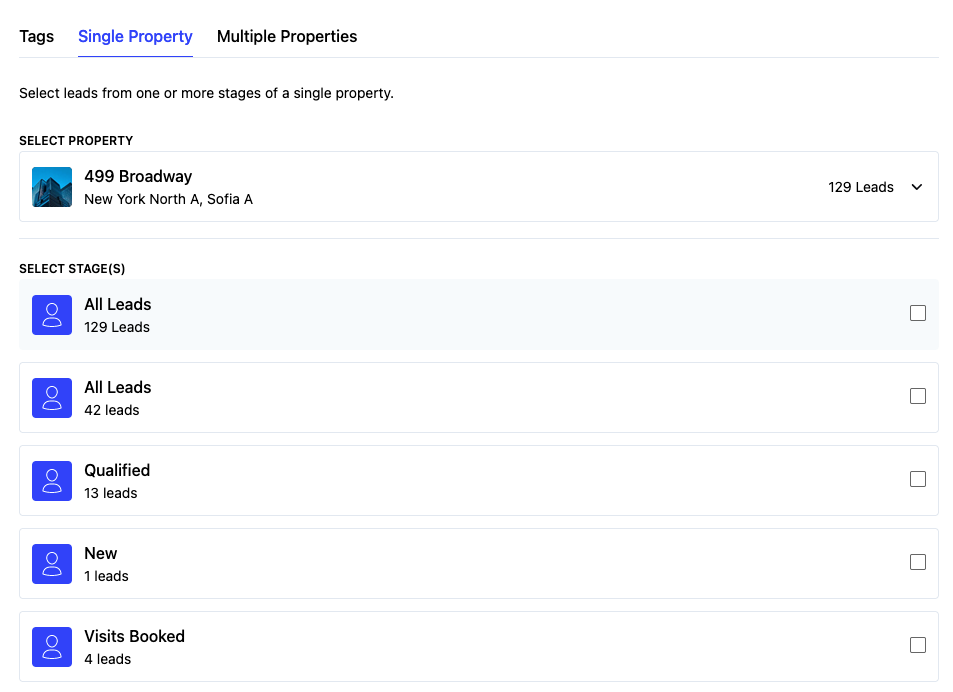
From a Single property
The email is sent to all the leads associated with the selected property. After the selection is made, you can either include all the leads or choose specific leads within specific stages.
- stages are generated in the lead section
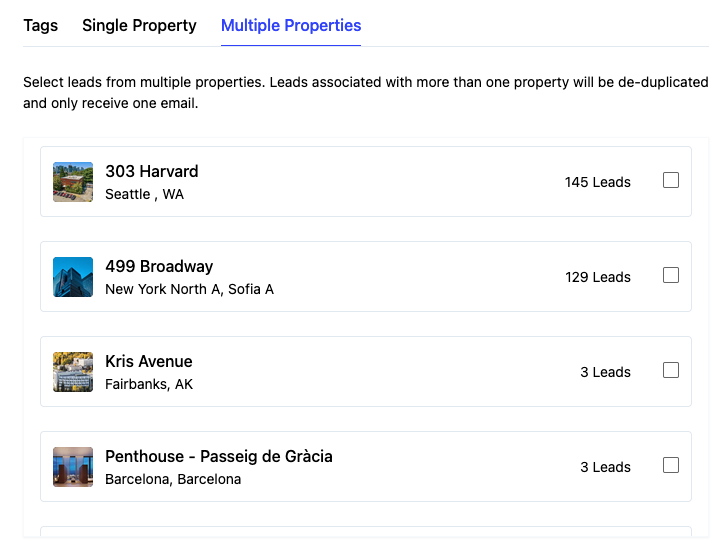
From Multiple properties
The email is sent to all the leads associated with all the selected properties.
- When multiple properties are selected, and one or multiple email address are associated with both properties, each address will only receive one email
Step 3 – Design the Email
By default, an email template is displayed in the email creation part. It includes 3 blocks: one is the logo of the account, one is a block without content and the last one is the footer block where the account name in SharpLaunch is being displayed, alongside the unsubscribed link.
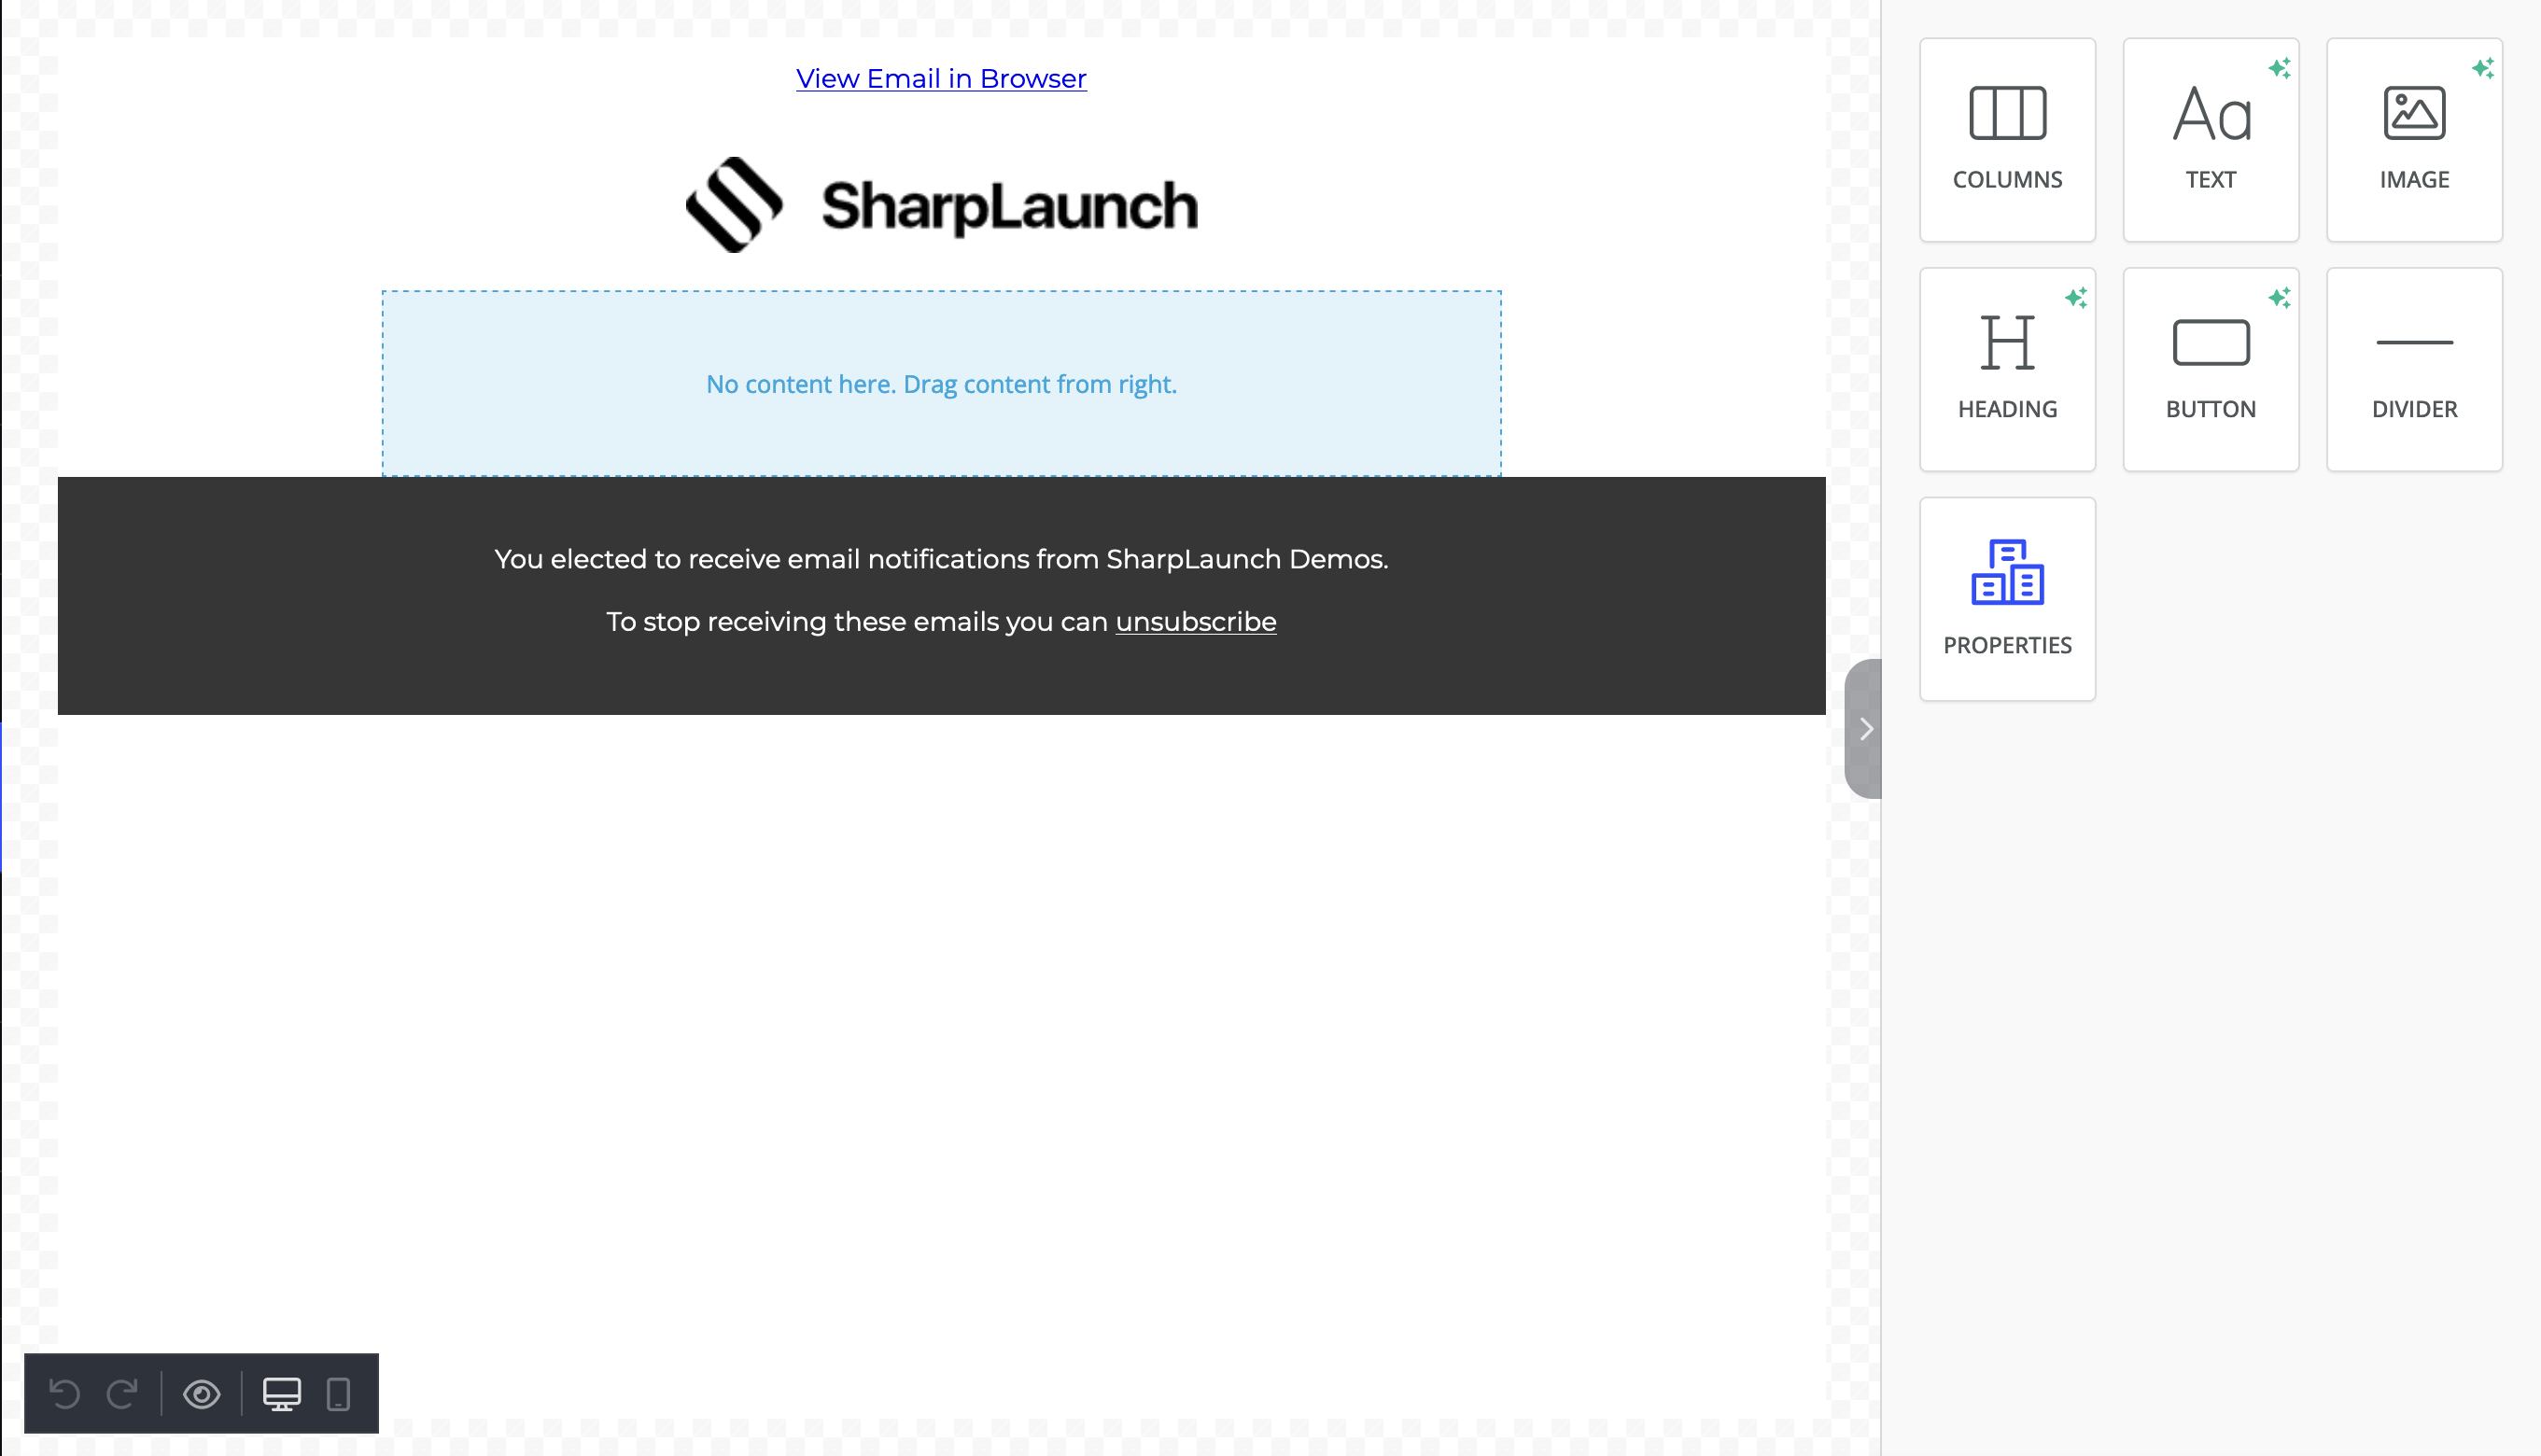
Each block can be customized by adding or removing content (images or text). For more details about the creation of an email campaign with property content already added in SharpLaunch, please visit the Dynamic Email Builder link
The customization can be done for both desktop and mobile and a preview of the campaign can be seen by clicking the button “Preview” found on the left part of the screen.
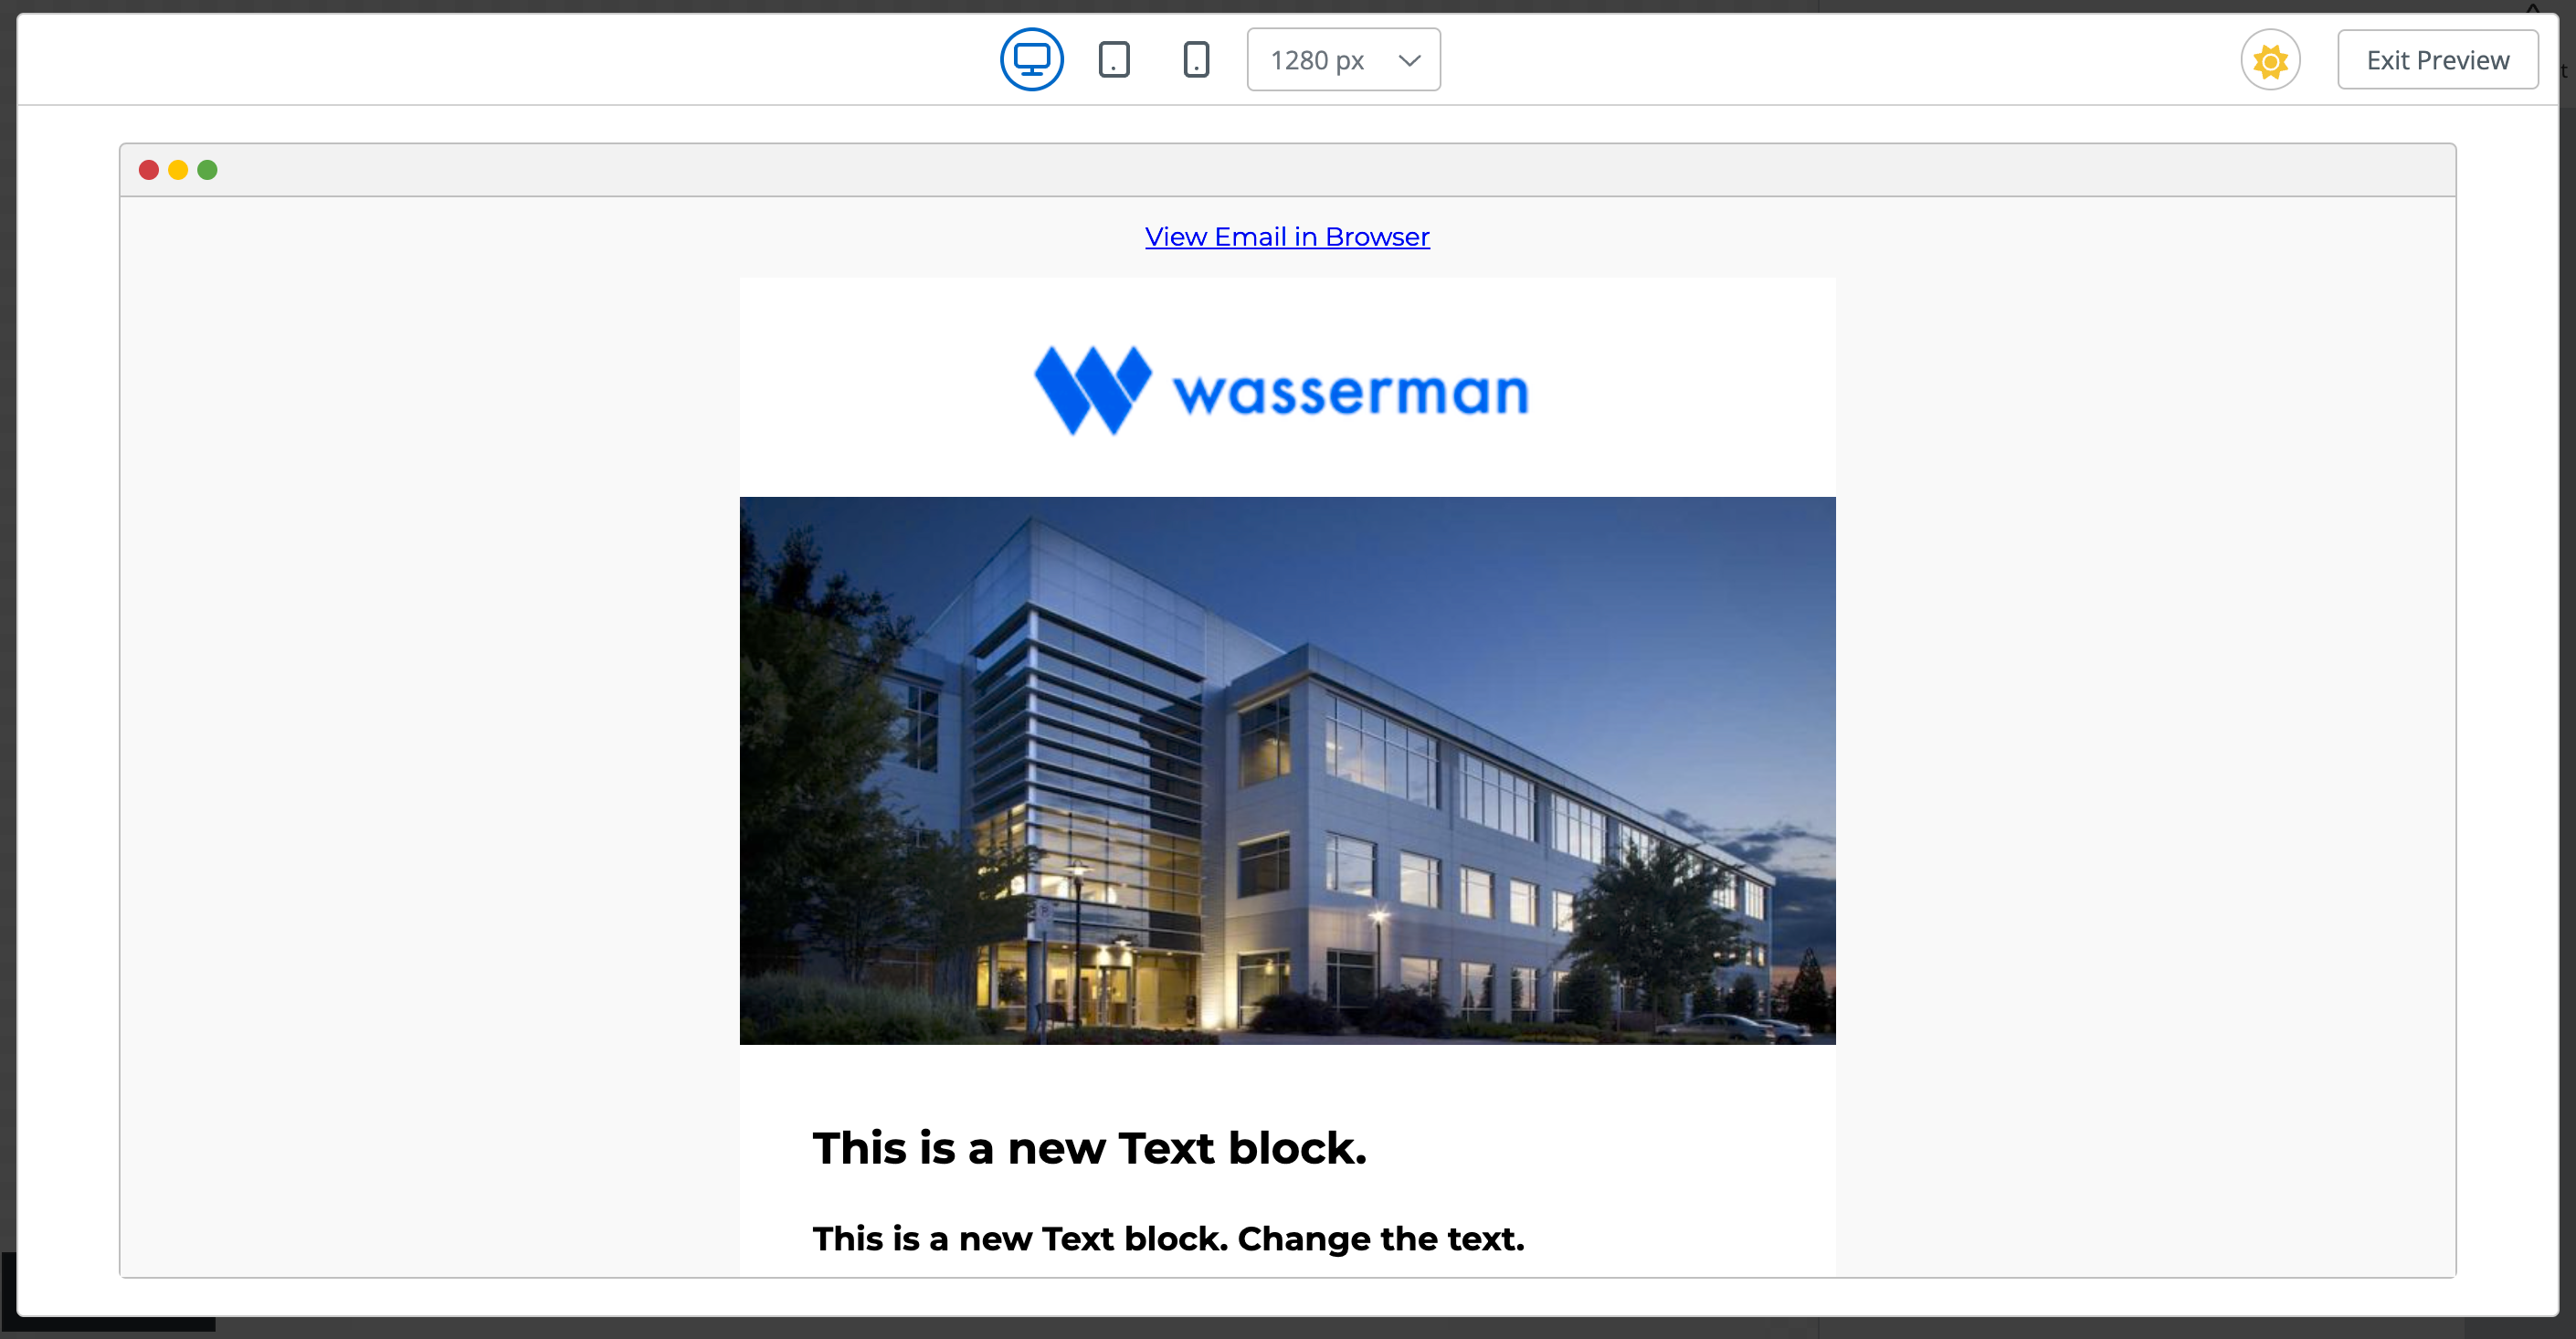
Note 1: The links for “View email in browser” and “Unsubscribe” are not working in test mode.
Note 2: The display mode of a device can alter the background color of the email campaign (light vs dark mode)
Step 4 – Review and Send
In the last step, you can find the details of the campaign including the name, subject line, from where it is sent, or the number of recipients it will be sent to.

You can send a test email by adding one or more email addresses separated by commas in the field “Send test email” and then clicking the button “Send test”.
You can schedule it for later by enabling the toggle “schedule for later” and then selecting a date and a time.
 Furthermore, you can send the campaign by clicking the button send or saving it as a draft and exiting the email flow.
Note: a draft email campaign can be seen by any admin added in SharpLaunch