How to update your DNS settings for a custom domain
You always have the option to use a custom domain (URLs) in order to completely white-label your SharpLaunch property page. In order to complete this process, you will need to follow the instructions below to change your DNS settings:
- This will depend on your hosting company
- Go Daddy Users:
- Use this article to navigate to the part of your Go Daddy dashboard where you can update the DNS settings.
- You need to change the A record (root domain) and the www record. The new A record is: 18.235.130.216
- Change the TTL to a minimum of 5 minutes.
- Go Daddy Users:
-
- Other Providers:
- Create a CNAME record and point it to the URL (SharpLaunch.com), attached is a screenshot of how the CNAMEs look in Namecheap DNS zone file, but that structure is similar for all registrars.
- Add a new DNS record
- Type: CNAME
- Host: www
- Value: SharpLaunch.com
- TTL: 30 mins, or 1800 if in seconds or the default option
- [Optional] add another DNS record like above but with host “@” if we want to work with the non-www domain
- Other Providers:
-
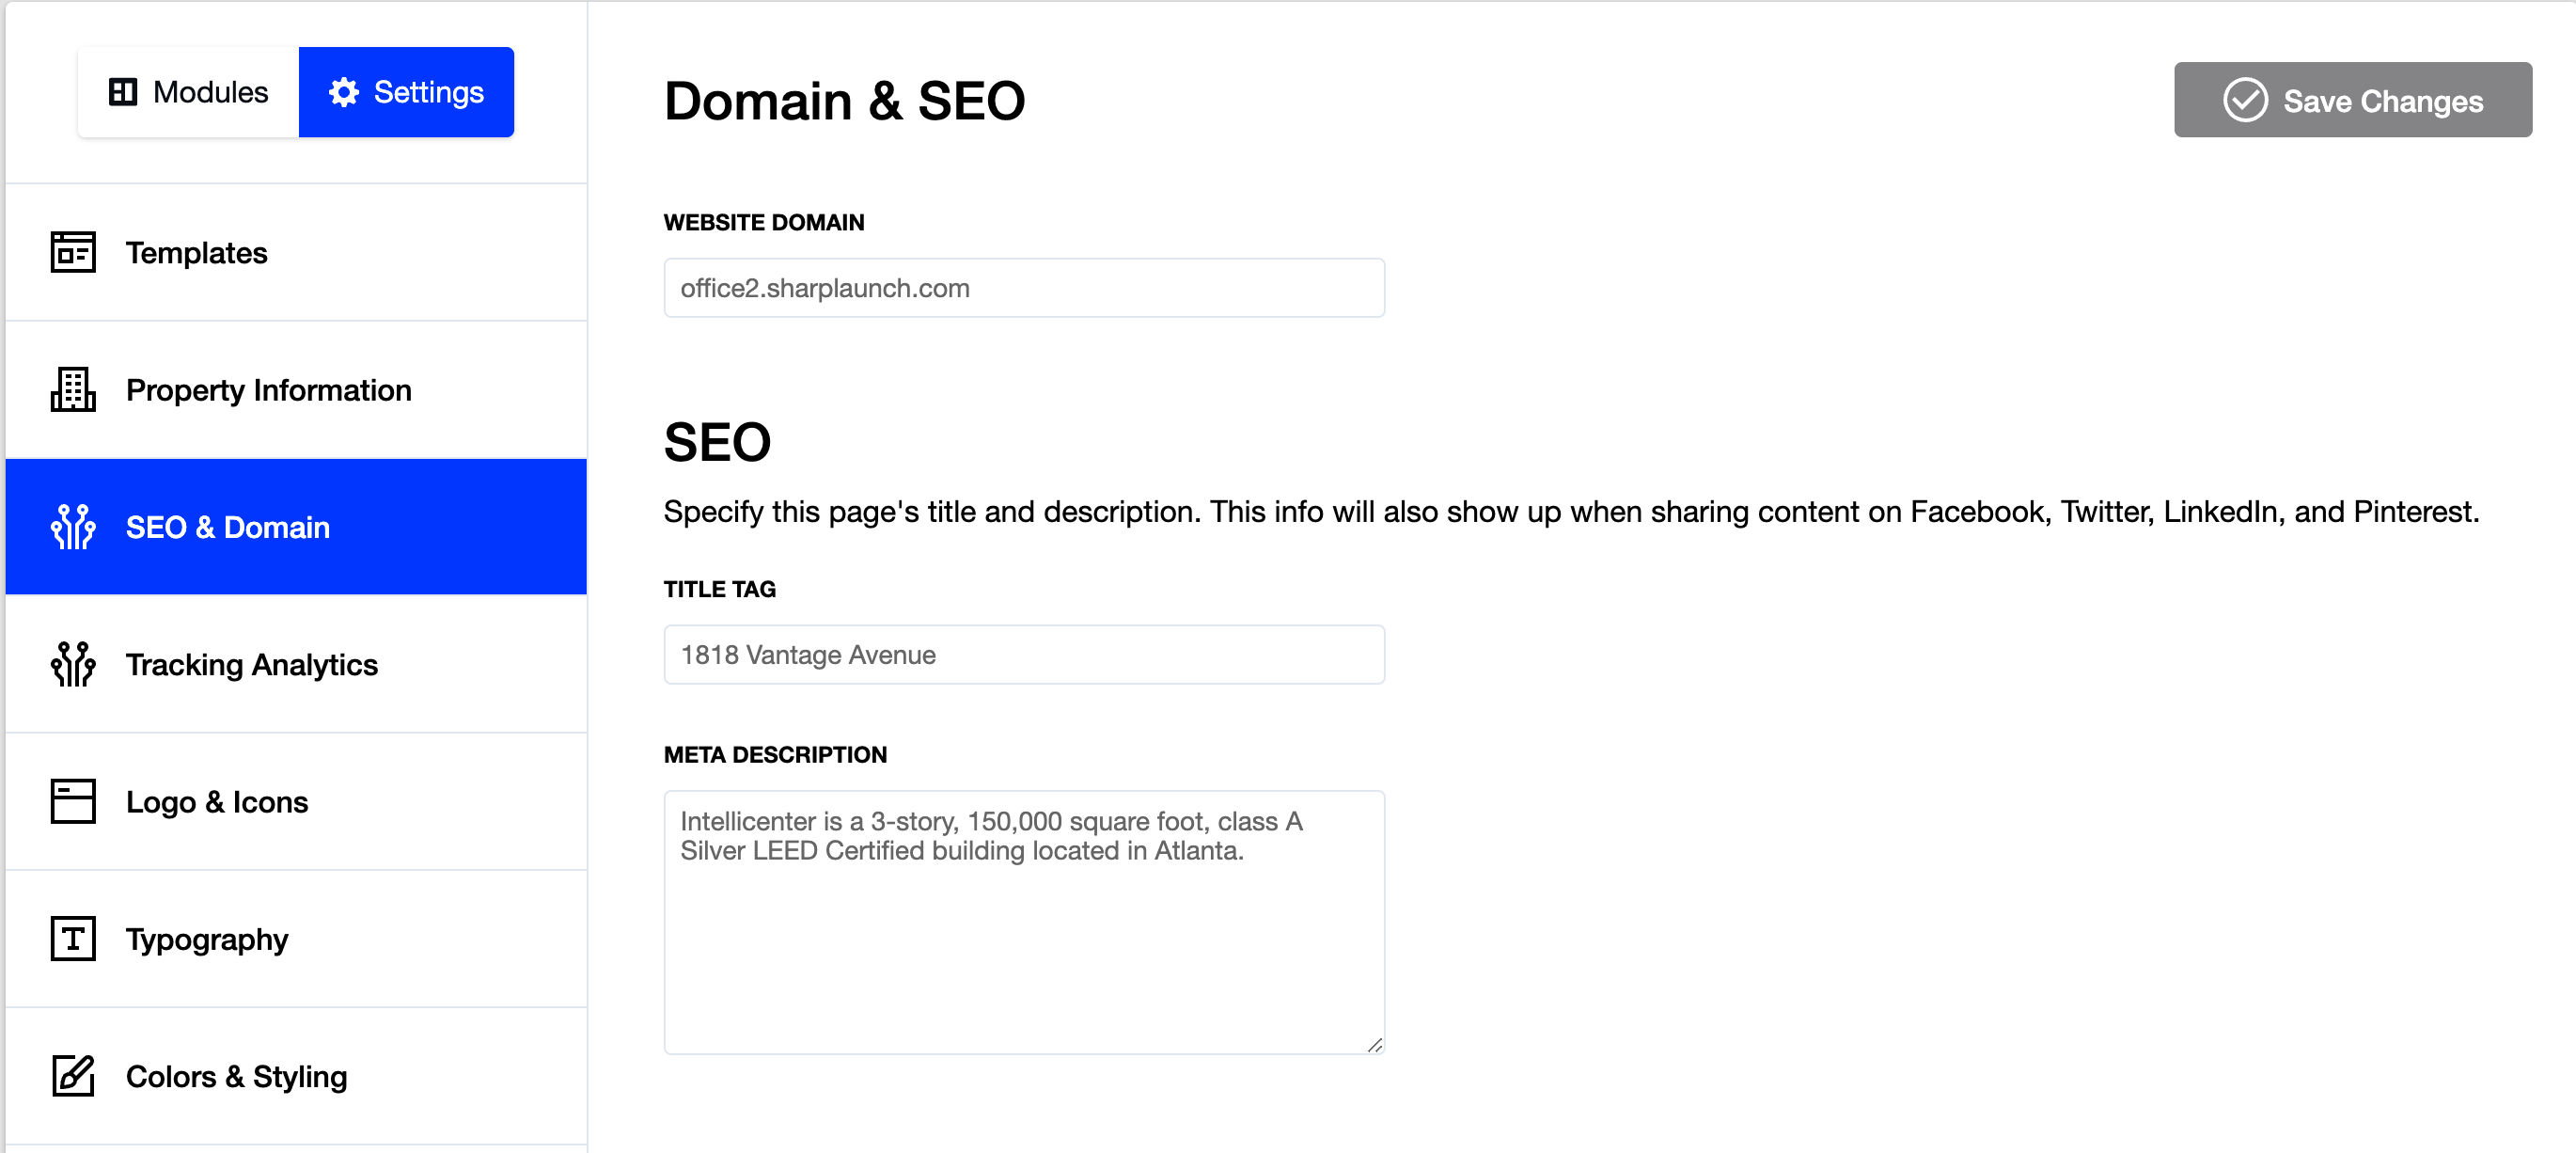
- Go to SharpLauch, then go to the individual dashboard for each property, click on the “CMS” tab, then on the “Settings” tab, then “SEO & Domain”. Here you should see a box that says “Website Domain”. This is where you will place the custom domain/URL. Then click “Save” next to it and then click save changes at the top right
- Send an email to help@SharpLaunch.com and let us know this has been done. Send us the domain name and we’ll set up an SSL Certificate. After this is done, the domain will be active.